
FREE TUTORIAL ✦ PAPER FLOWERS
Let’s make a paper rose
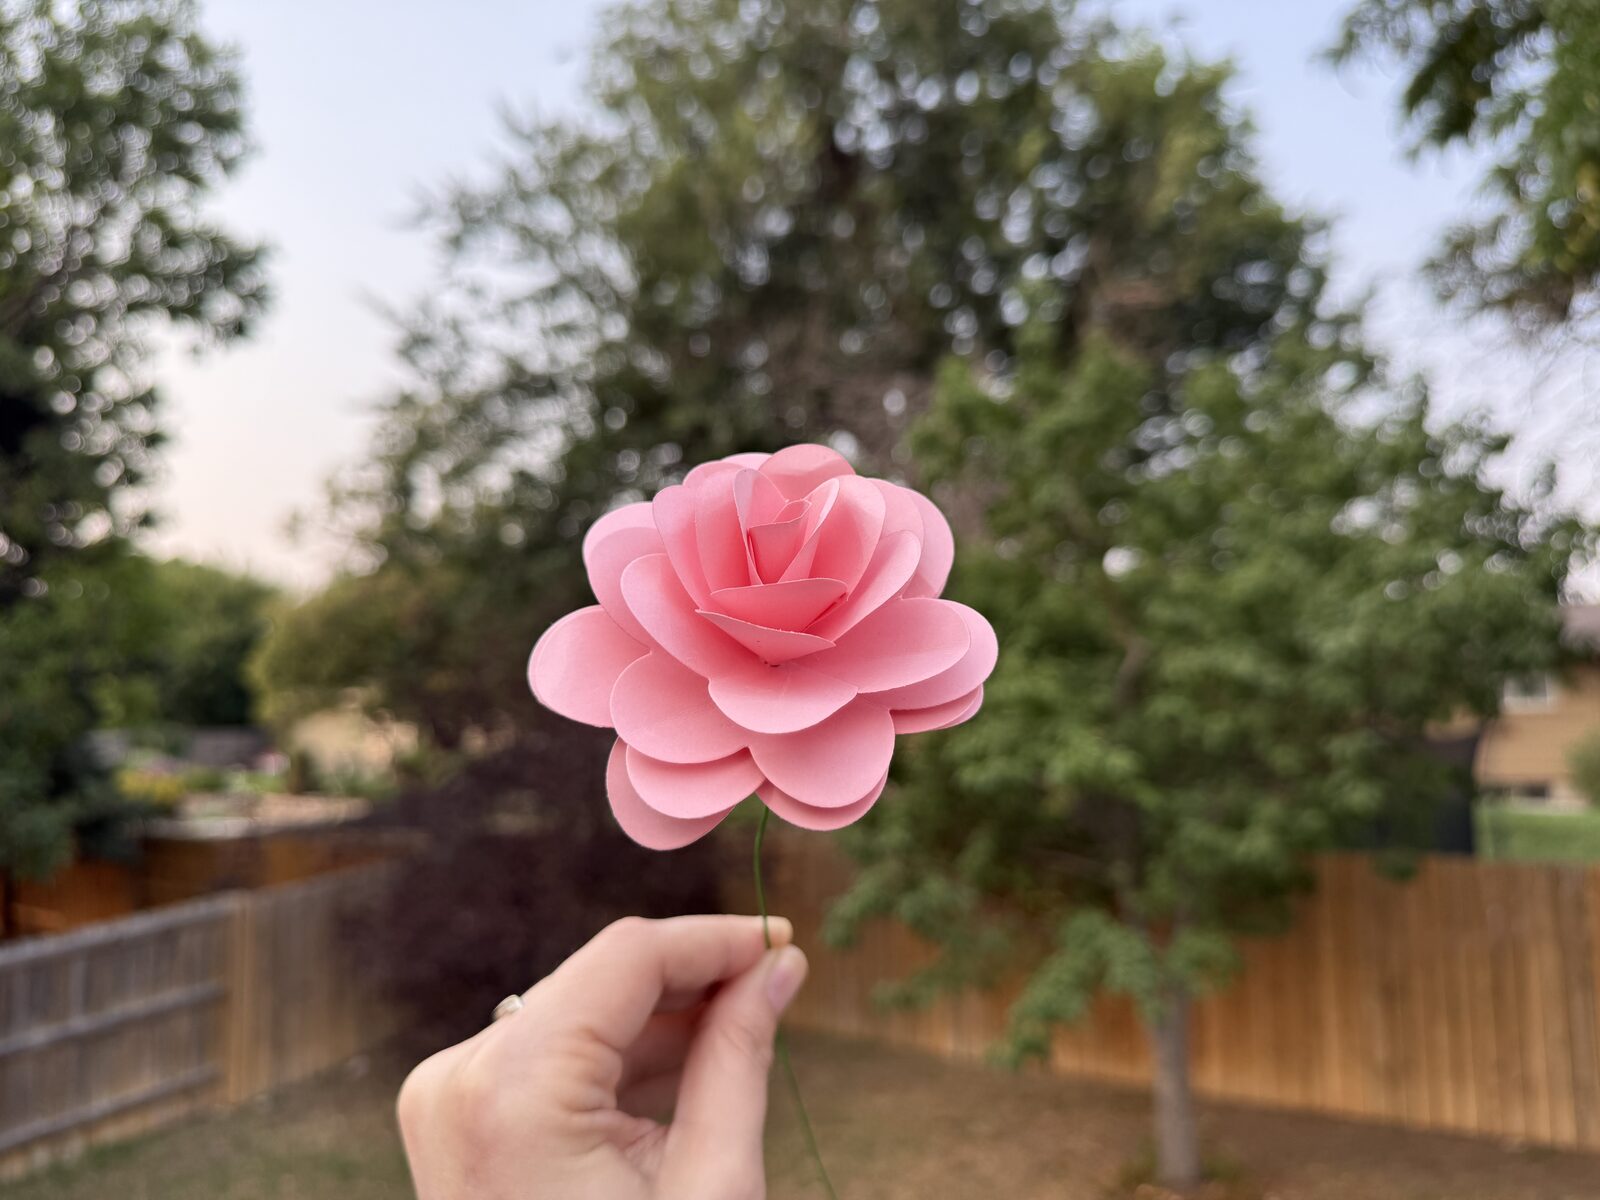
These roses have credentials: they were one of the core flowers in my wedding bouquet, and in my sister’s. They are tons of fun to make, they’re gorgeous on top of a present, and the whole trick starts with a humble daisy die and a stack of cardstock.
One daisy dieCardstock + wire + glueGorgeous on gifts
What you need
- Cardstock in your rose color
- Florist’s wire
- Tacky glue — Aleene’s Original, the glue my studio runs on
- A die cutting machine and a daisy die. I’m using a Big Shot and the largest flower from Sizzix set 558692. No die machine? This rose still happens: grab the free printable daisy below and cut it with scissors.
- Paper scissors
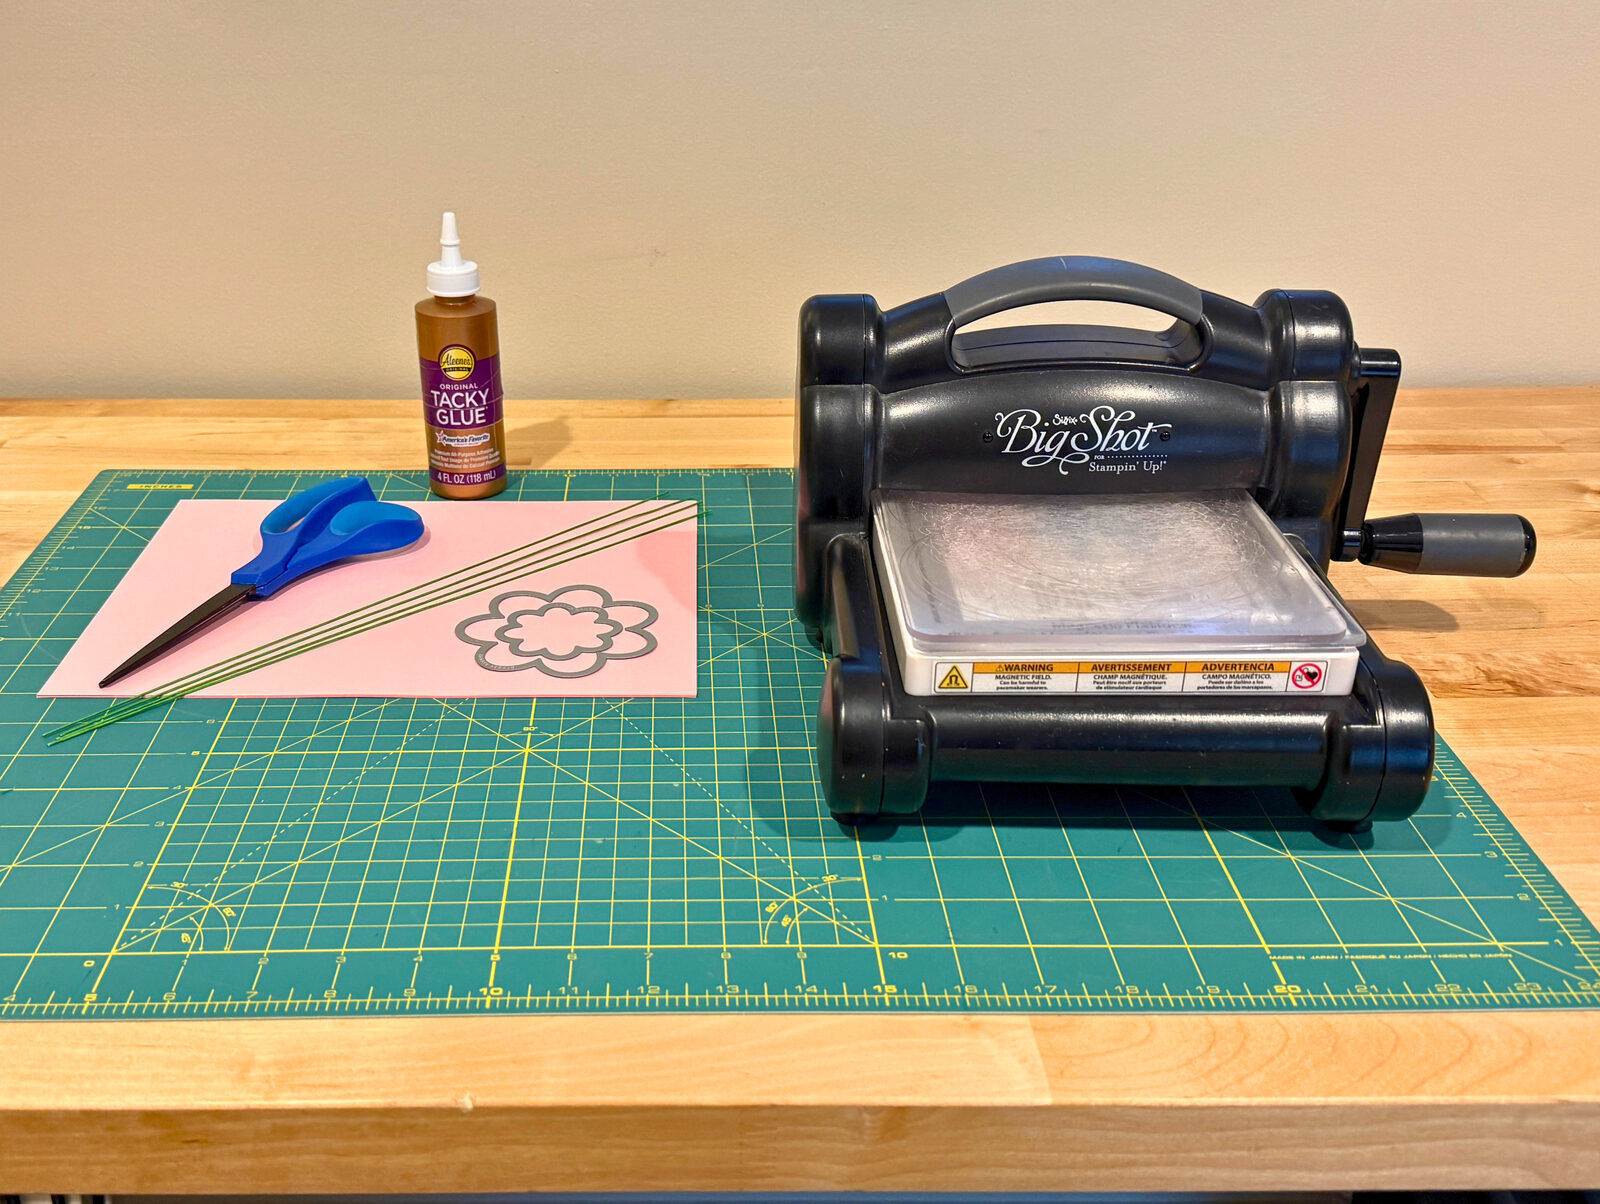
No electronic cutter needed for this one. The hand-crank kind is perfect.
Making the rose
1Punch your flowers
Punch out your flowers. With my 7-petal die, three punched daisies is all I need for a rose. If you’d like an extra-full rose, punch one spare to use whole as the final layer.
Step 3 goes into more detail on how to figure out the number of layers to cut out based on the number of petals.
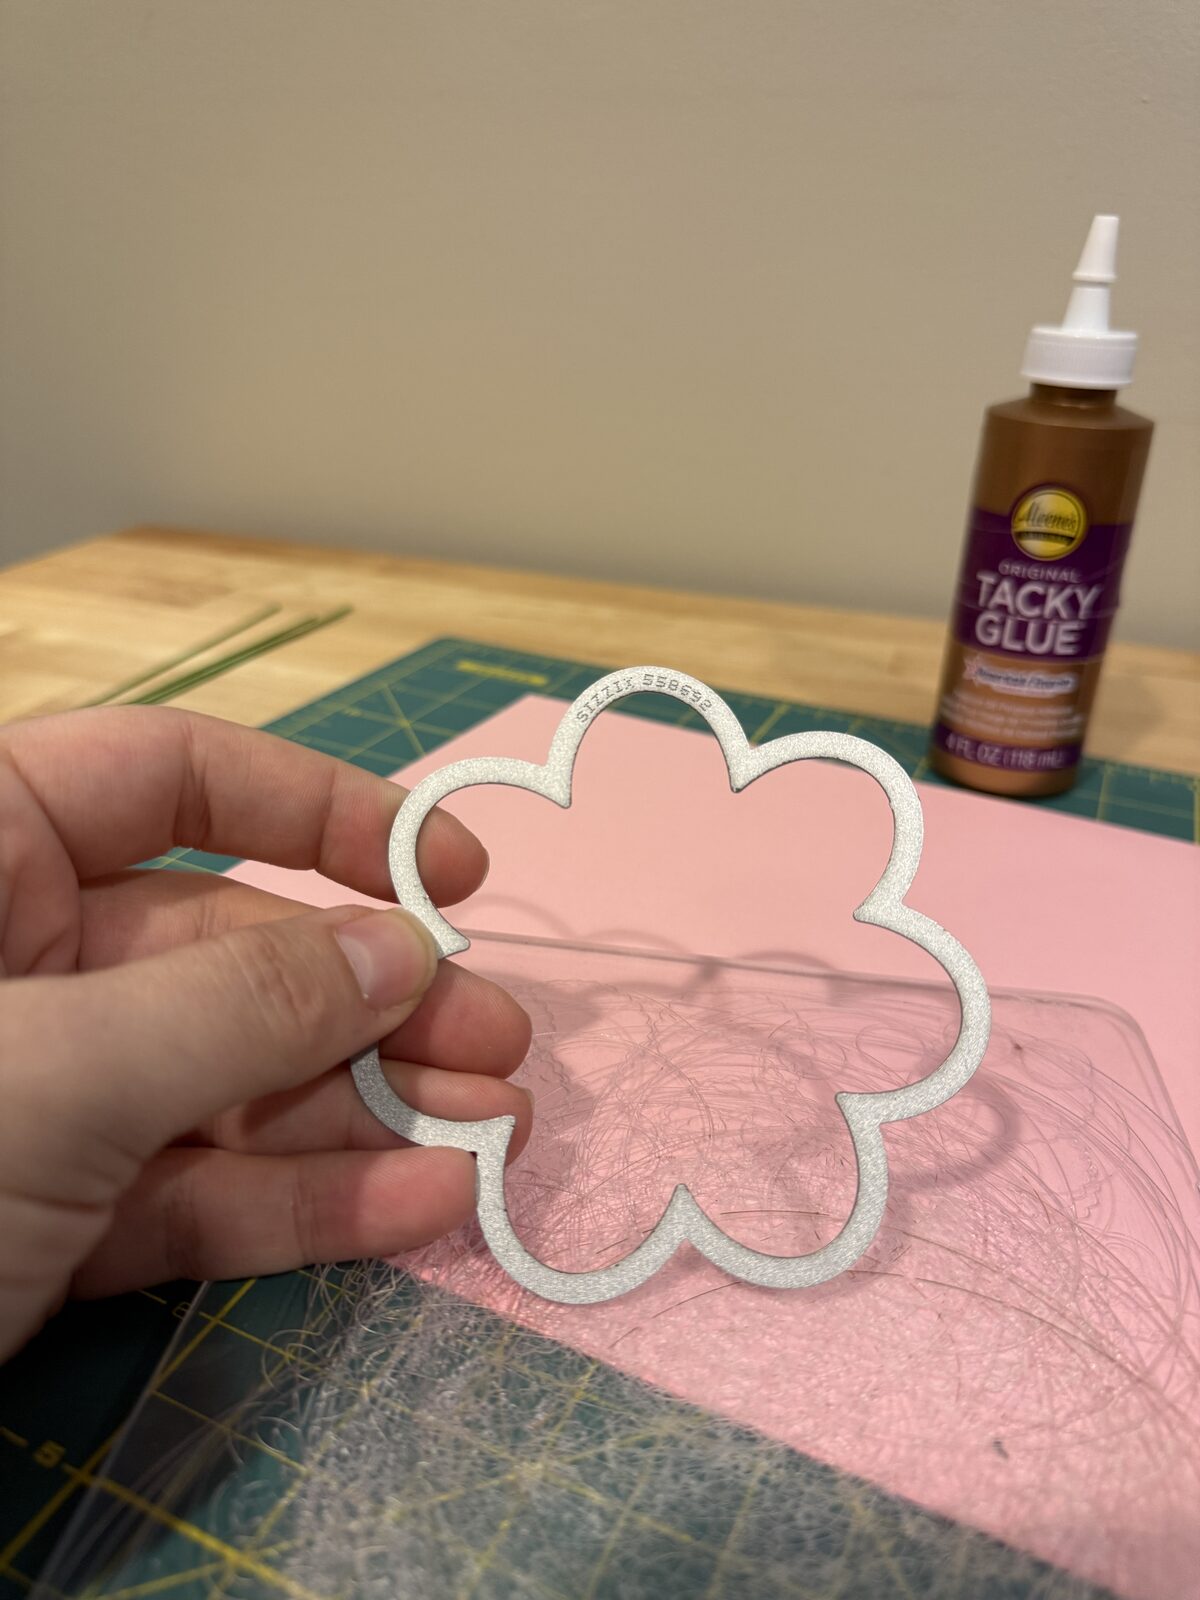
2Find the center and snip
Fold each flower in half, then pleat it along the petals to find the center point. Snip the point off, and keep the bit you cut off small. We don’t need or want a big hole.
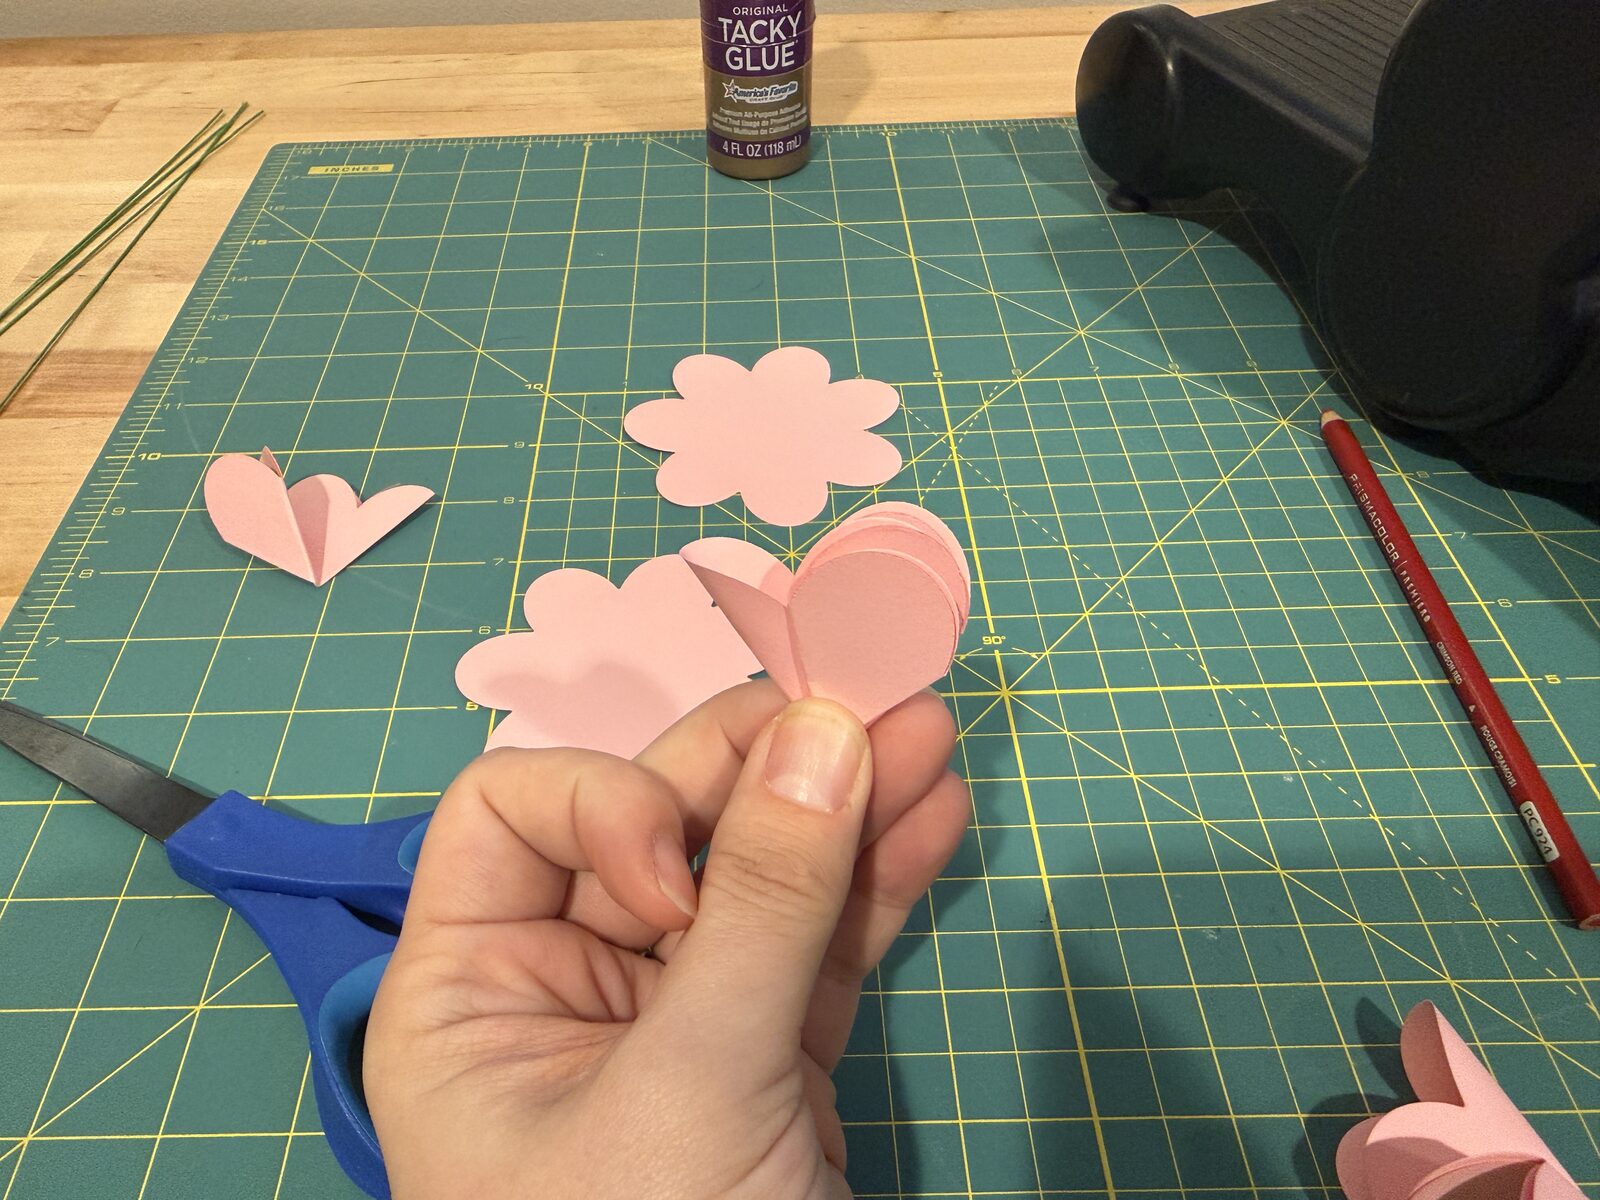
3Cut your petal groups
These roses are made from layers, each one a single petal bigger than the last. Once you see that, you can make this work with just about any flower die you own.
The goal is to end up with layers from 1 petal to 6 petals (or whatever the total number of petals in your die minus one equals). Every flower you punch will give you two layers of your rose. Nothing is scrap.
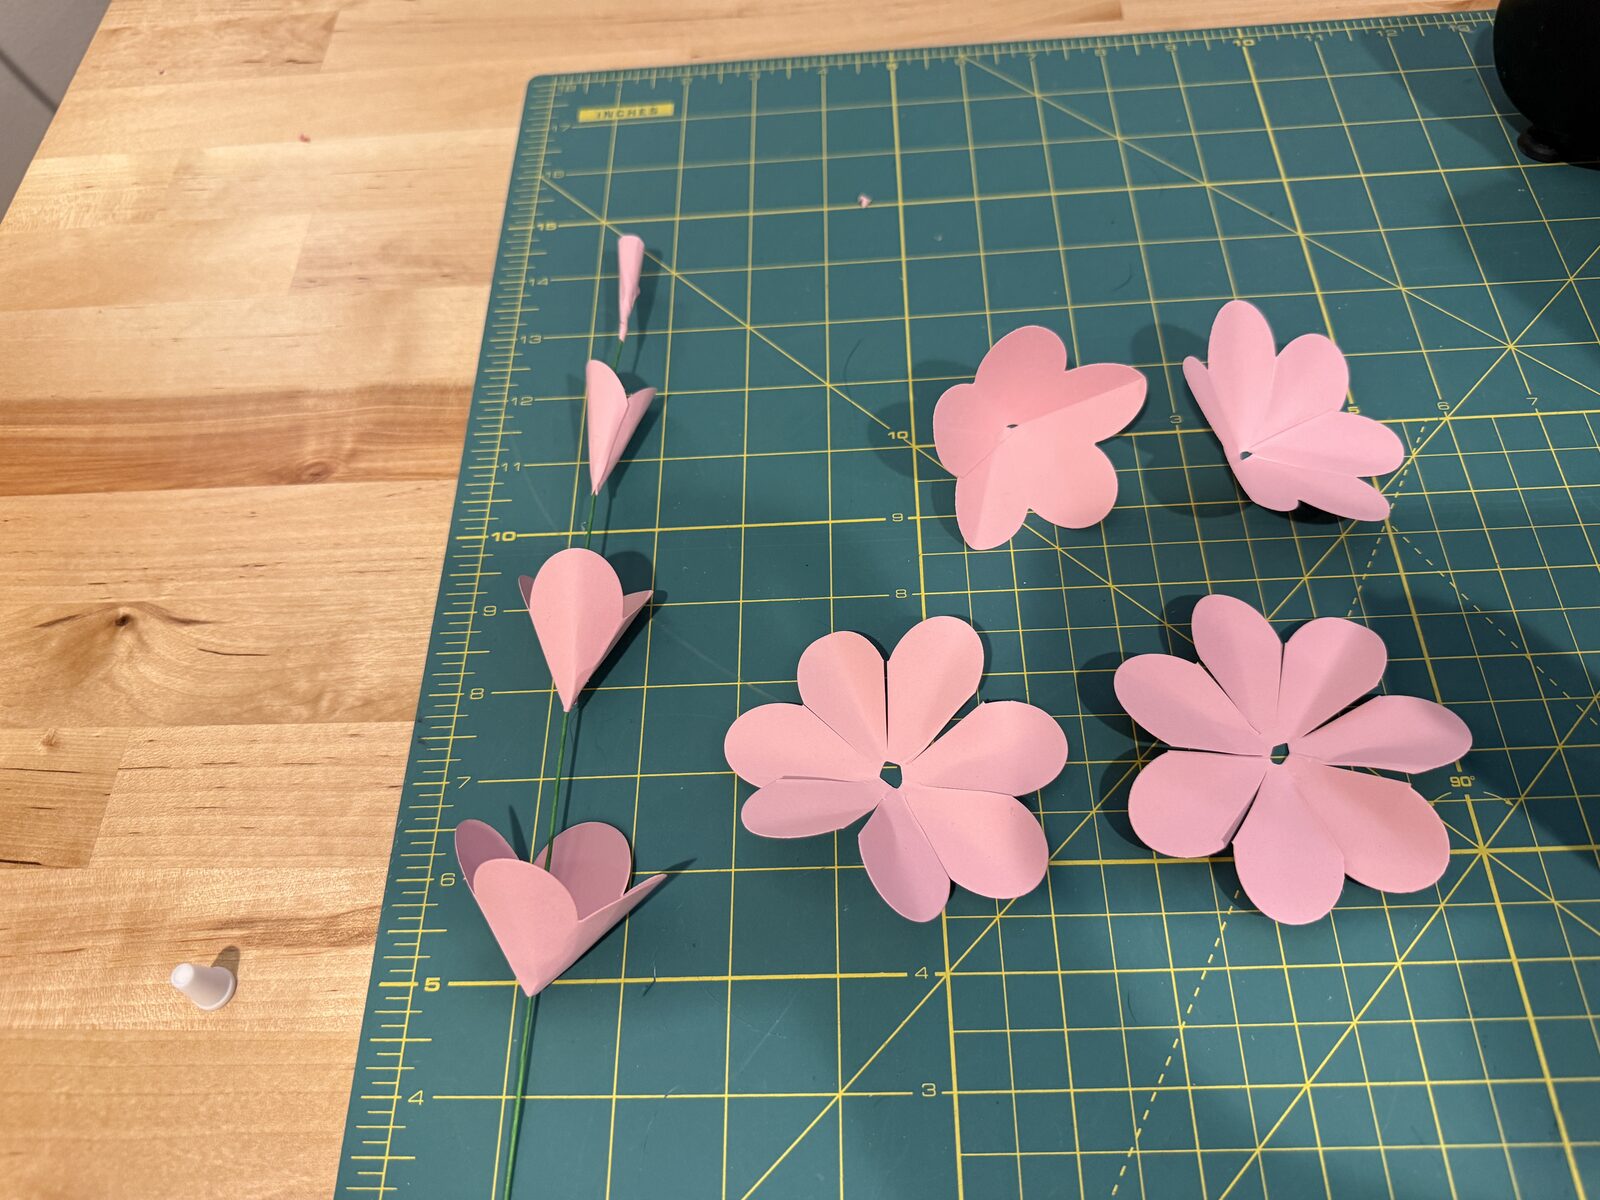
My die has 7 petals, so three daisies cover the whole rose: cut 1 petal from the first flower and you’re left with a 6. Cut 2 from the second, and you’re left with a 5. Cut 3 from the third, a 4. That’s every size from 1 to 6, and you can see the pairs together in the photo (each little group sitting with the piece it came from.)
And if you punched a spare for an extra-full rose, leave it whole. Just slit between its petals most of the way to the center.
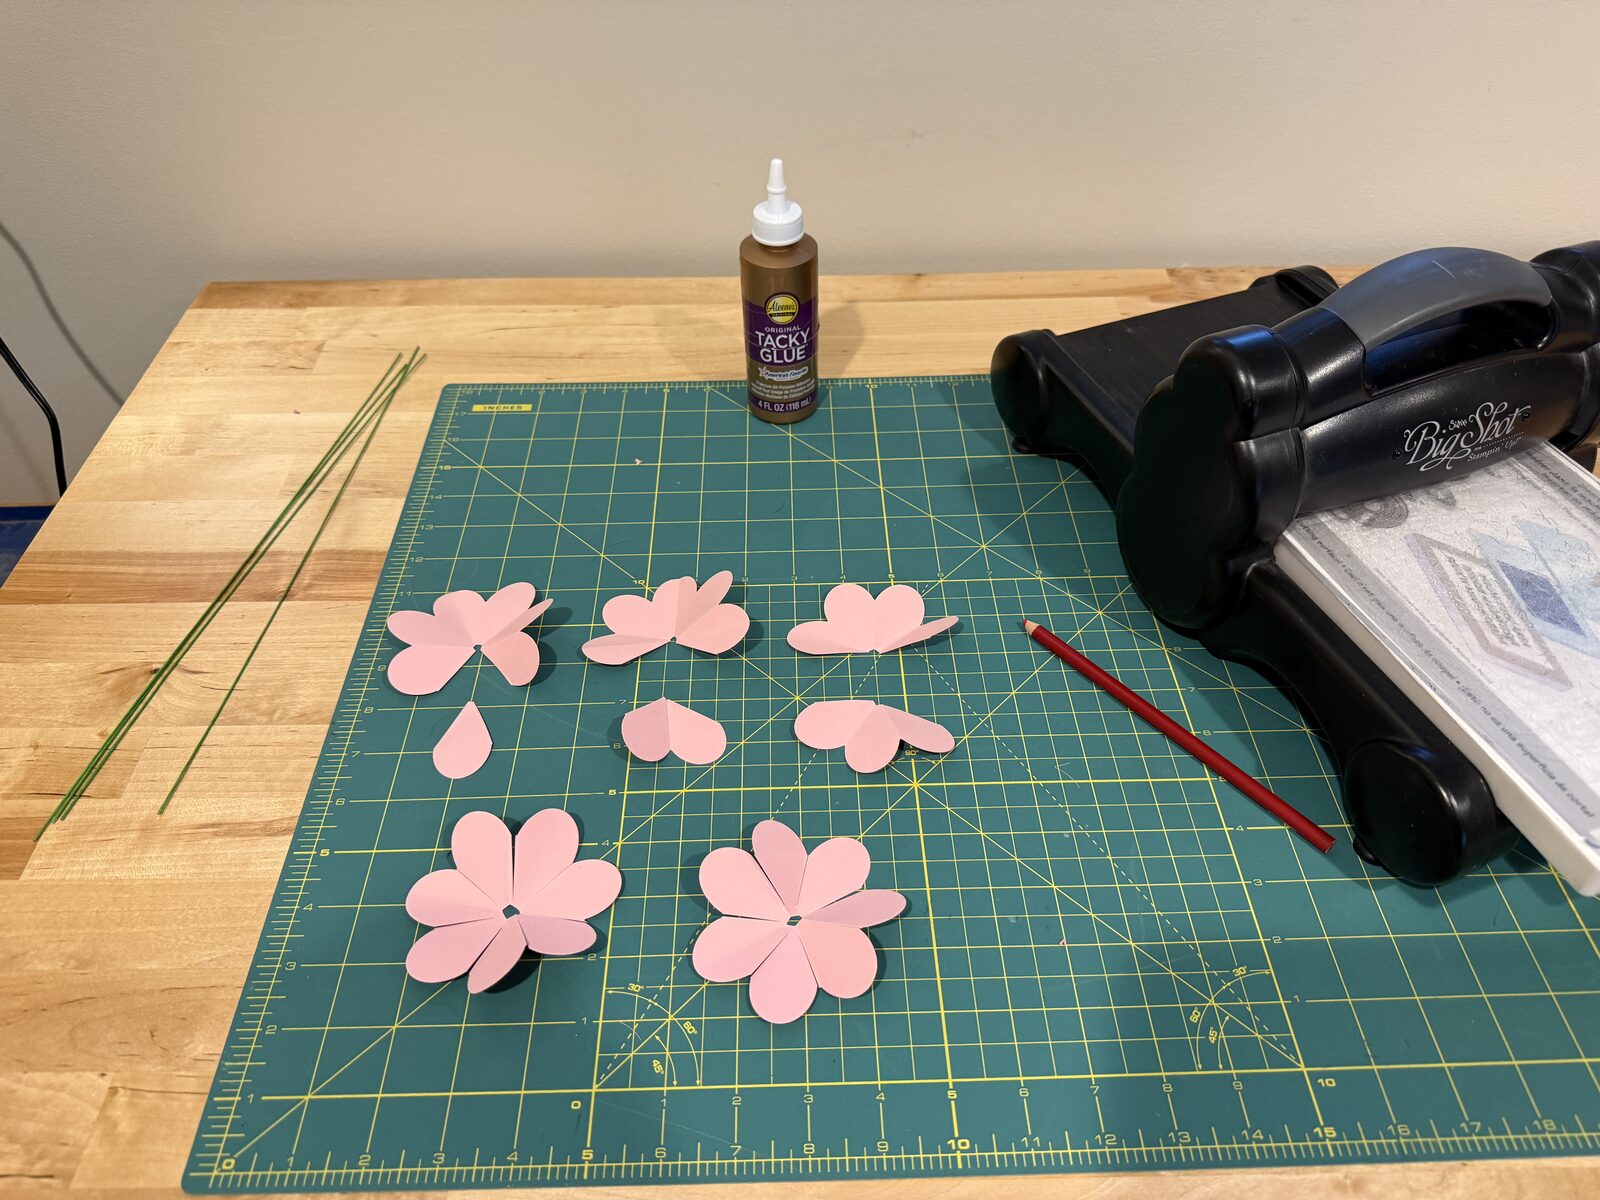
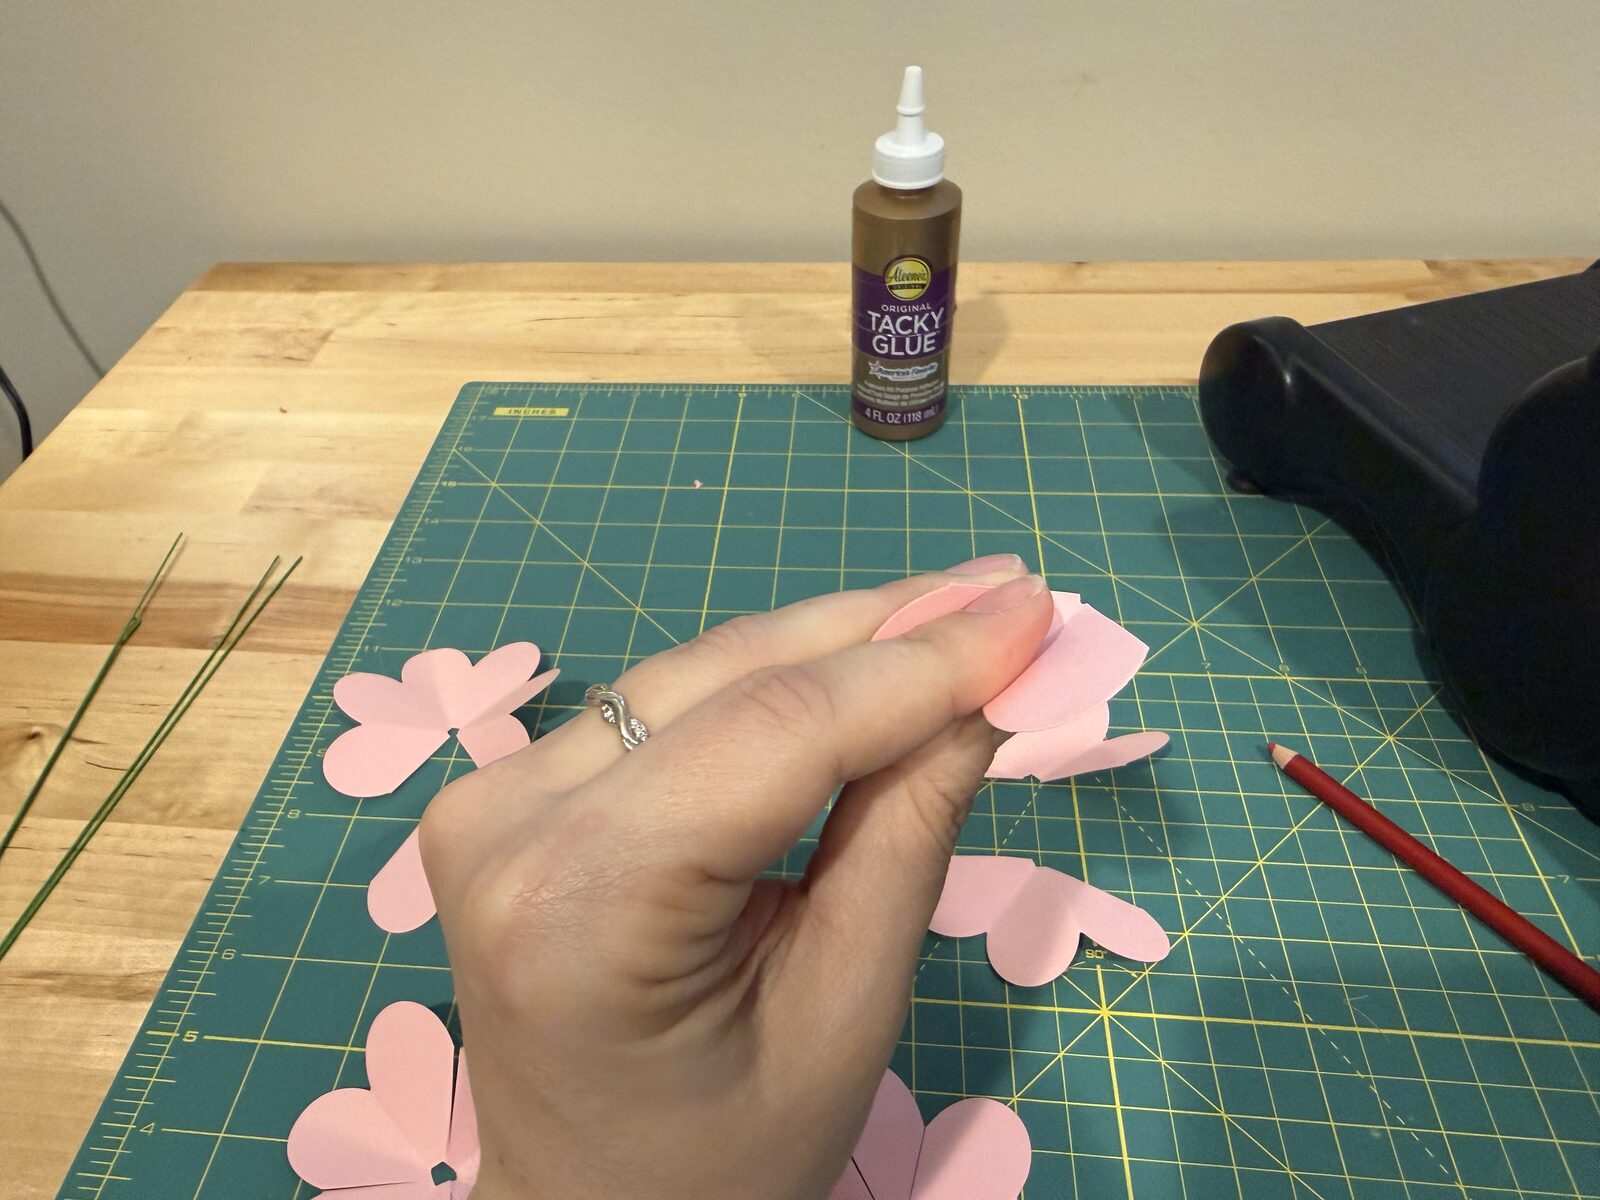
4Cup every petal
Bend each petal around your finger so it starts to cup. This makes the cardstock fight the glue less.
5Glue into cones
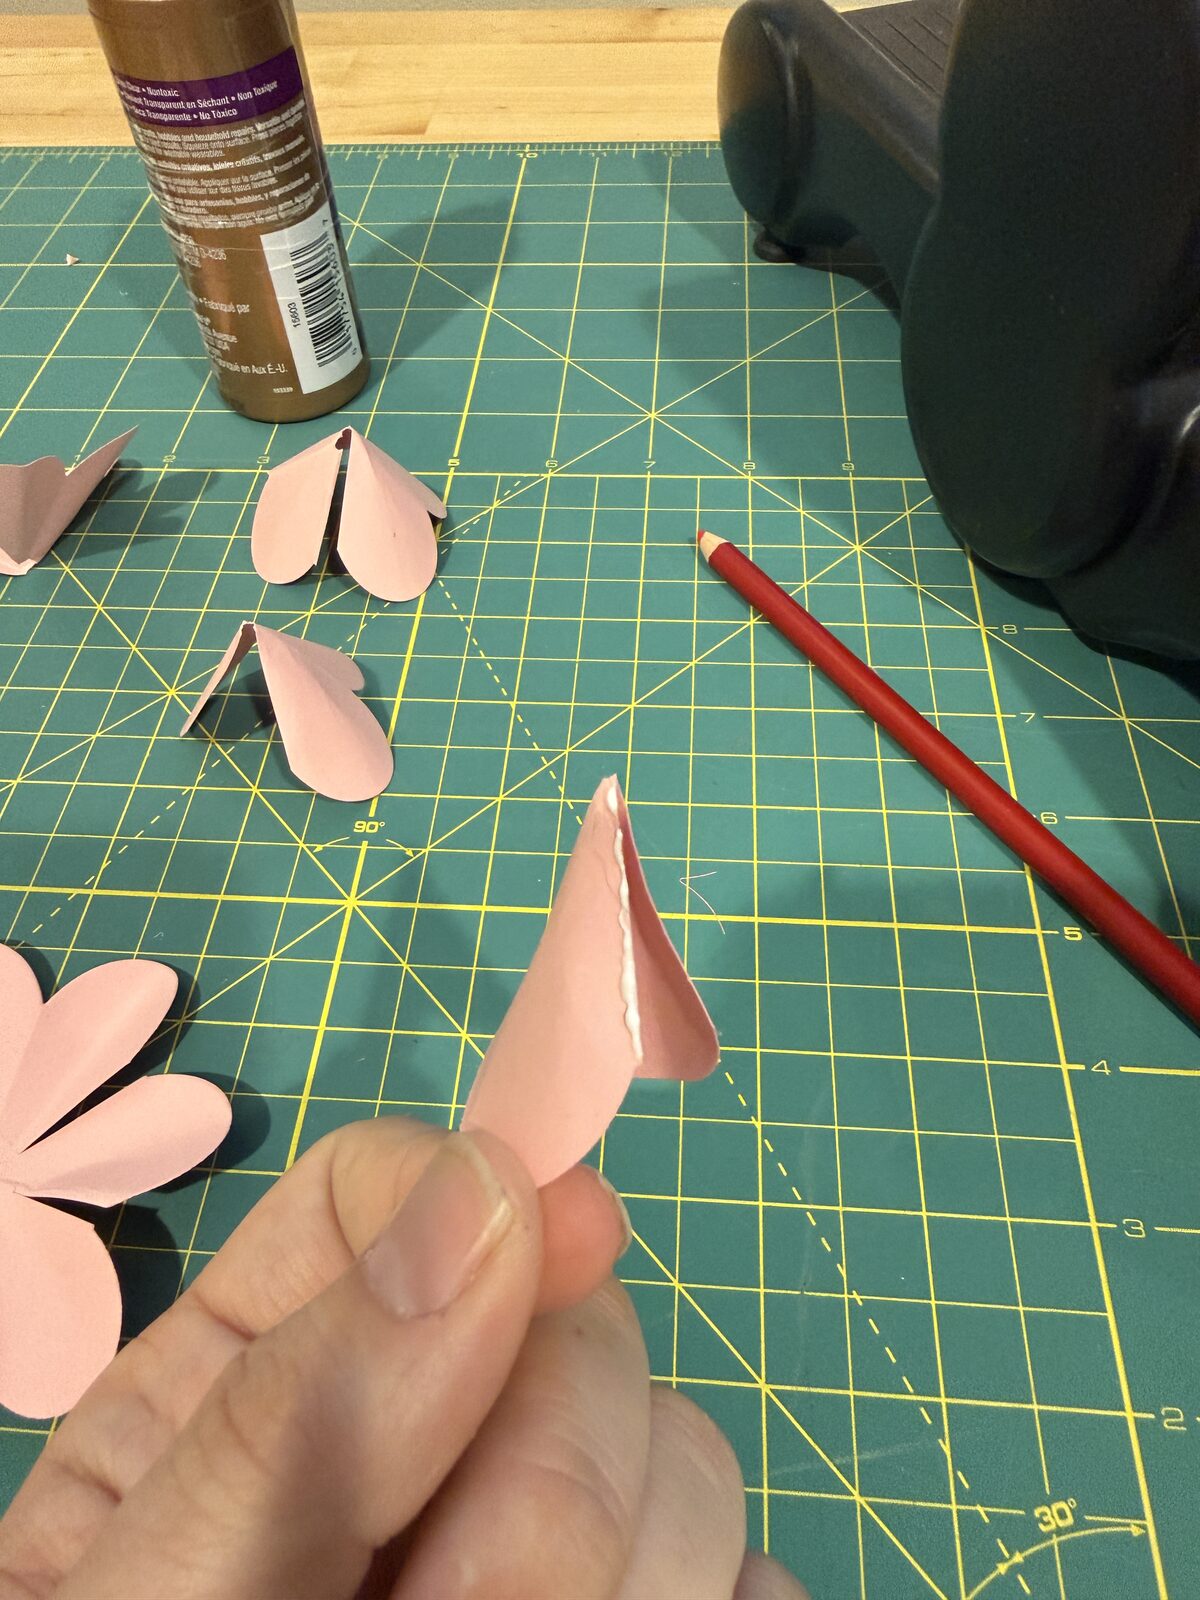
With a very small amount of glue, overlap the cut edges and glue each petal group into a cone. Sliding your closed scissors inside the cone gives you something to press against on the small ones.
✦ A SKILL YOU’LL REUSE
Take a wedge out of a circle, overlap the cut edges, and glue to transform a flat piece into one with height. It’s what’s happening to these petals right now, and it’s the same move that gives the Mushroom Kit’s cap its dome. Now that you know, you’ll start seeing opportunities for it everywhere.
6Hook the wire
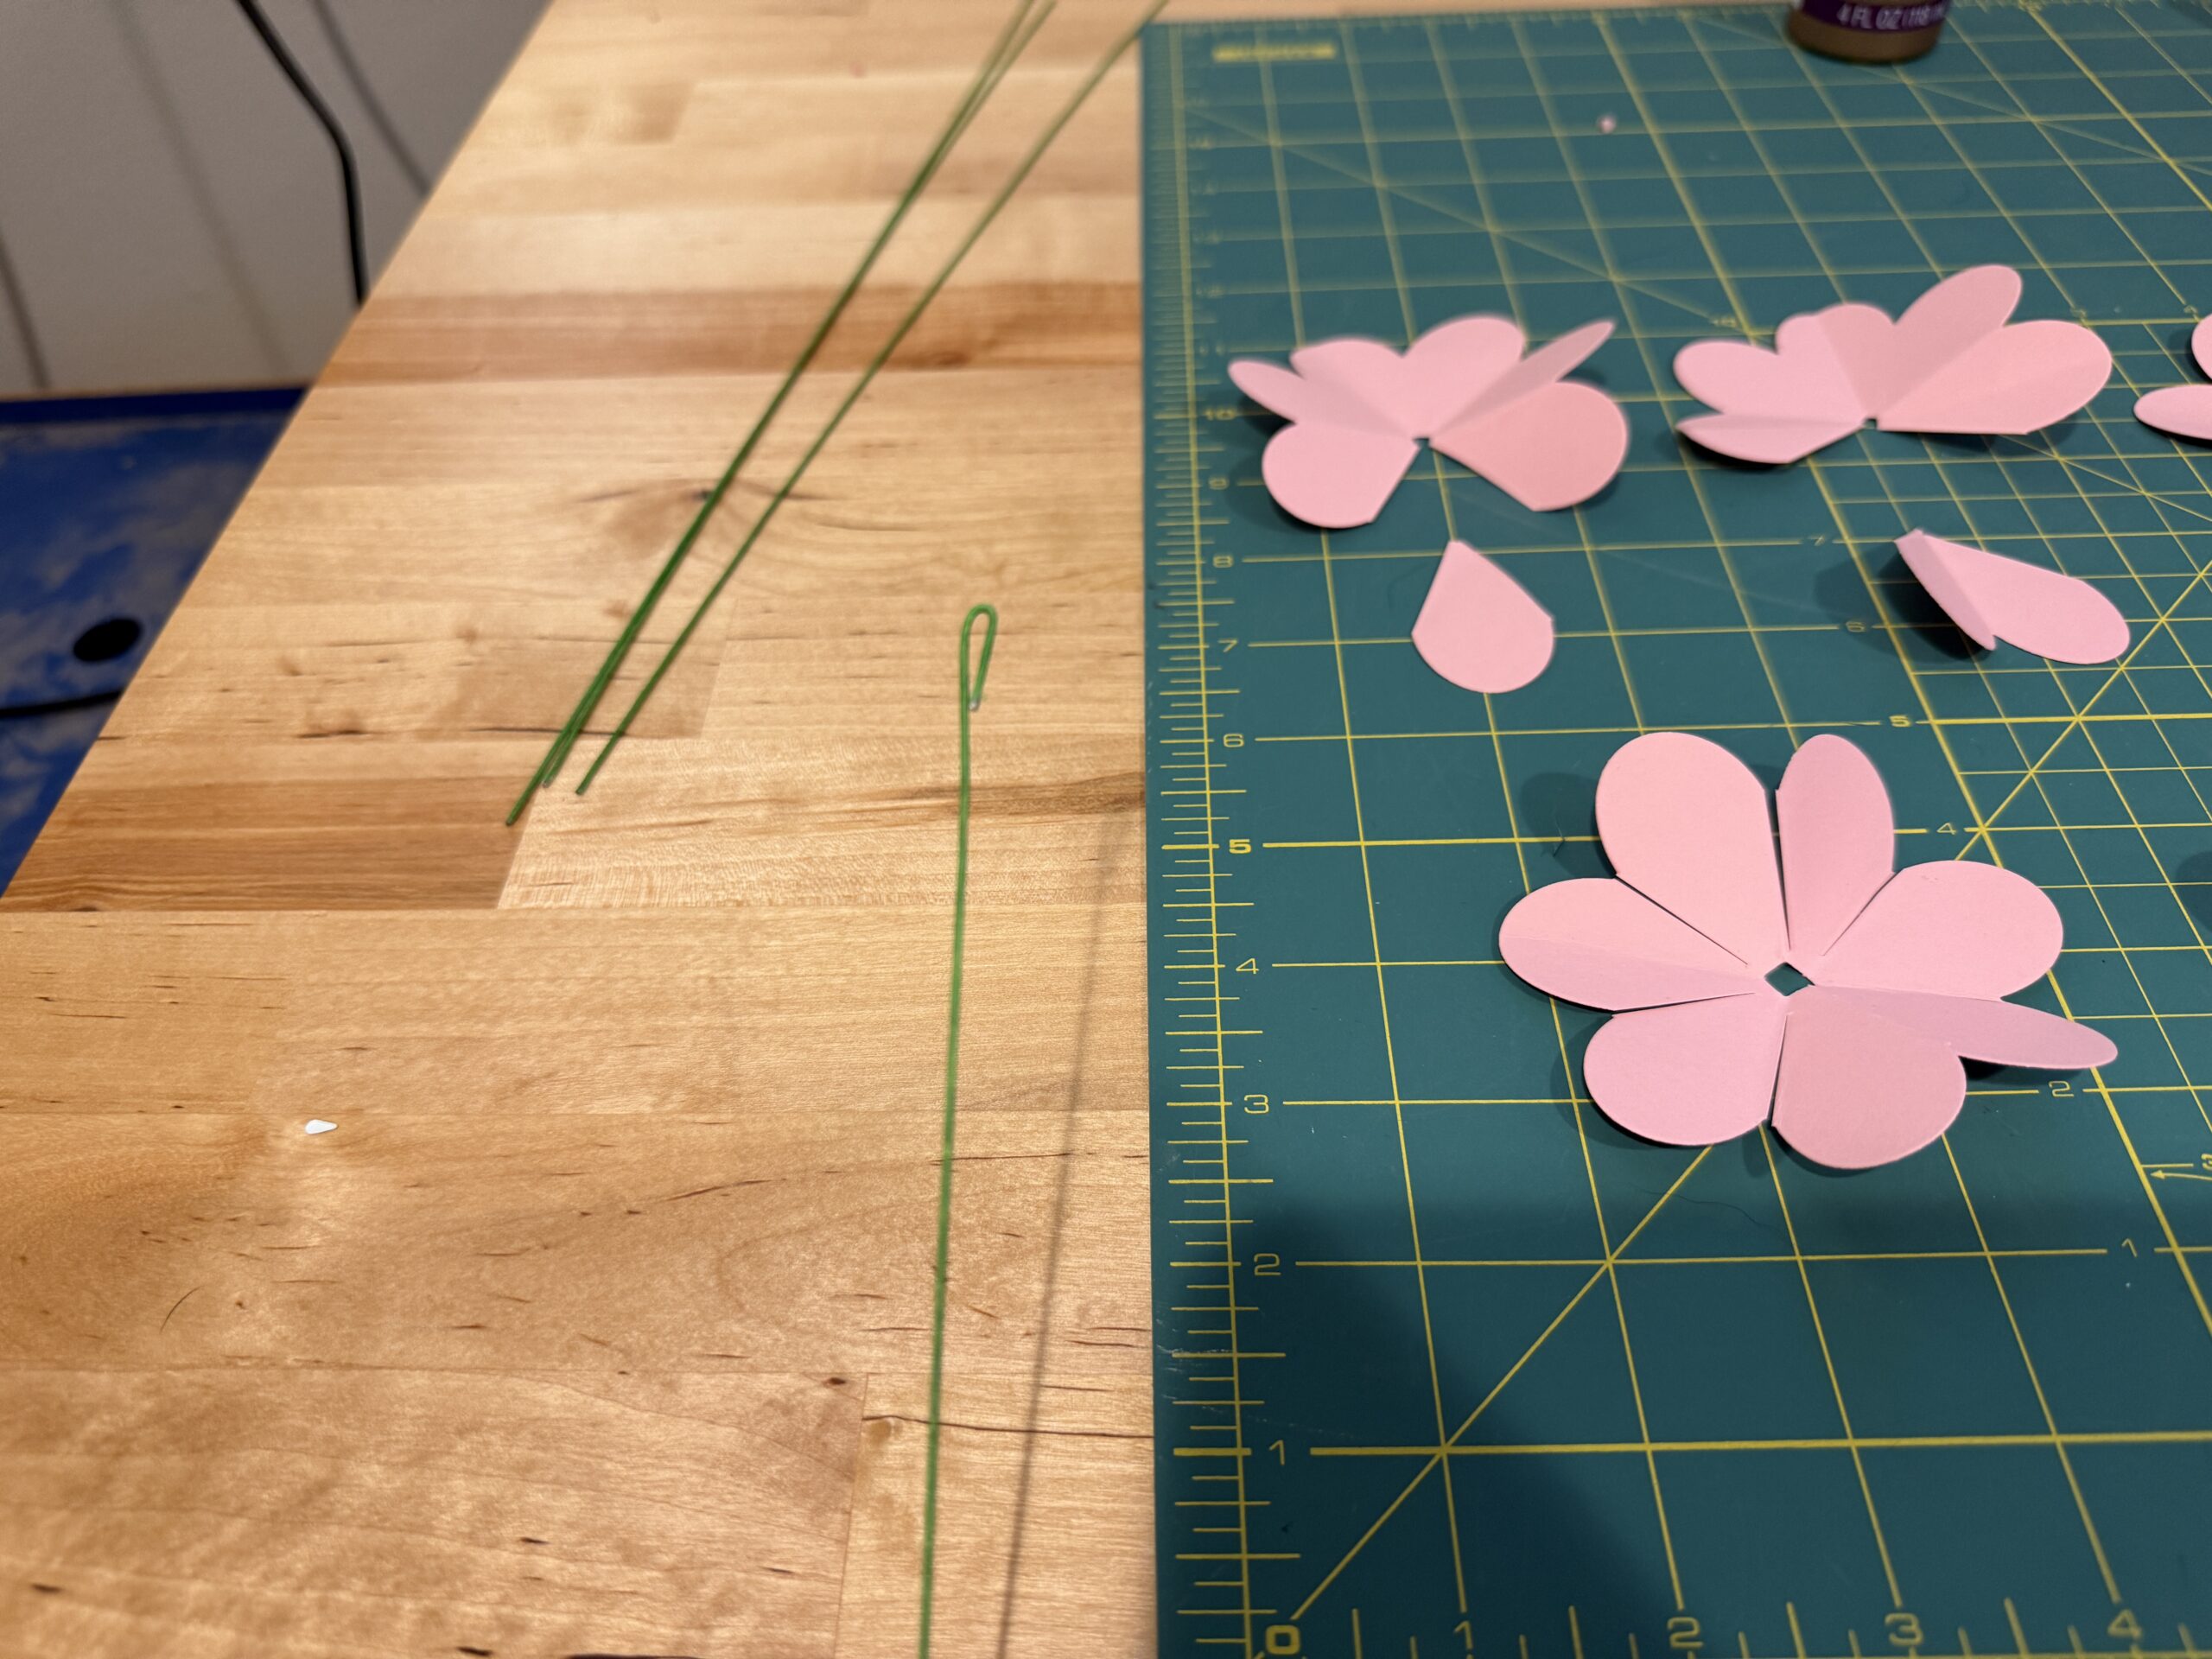
Fold a small hook into one end of your florist’s wire. It gives the center petal something to hold onto.
7Spiral the center
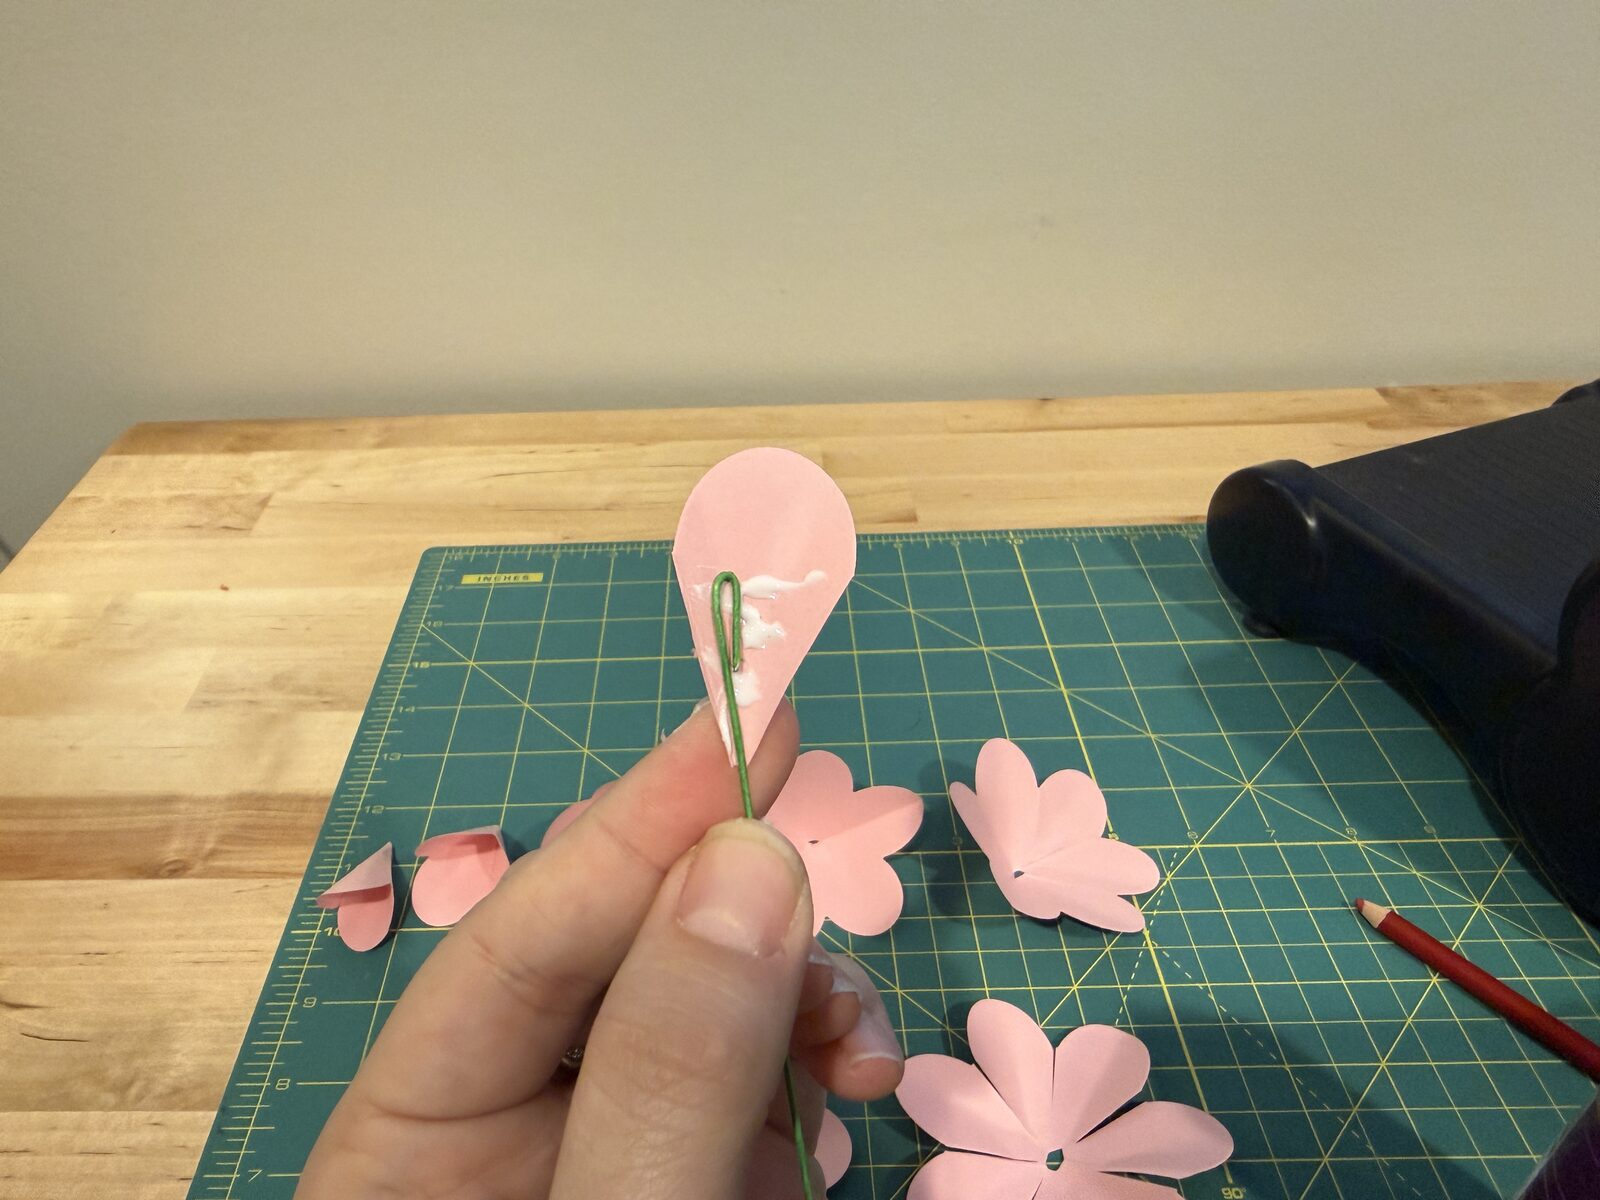
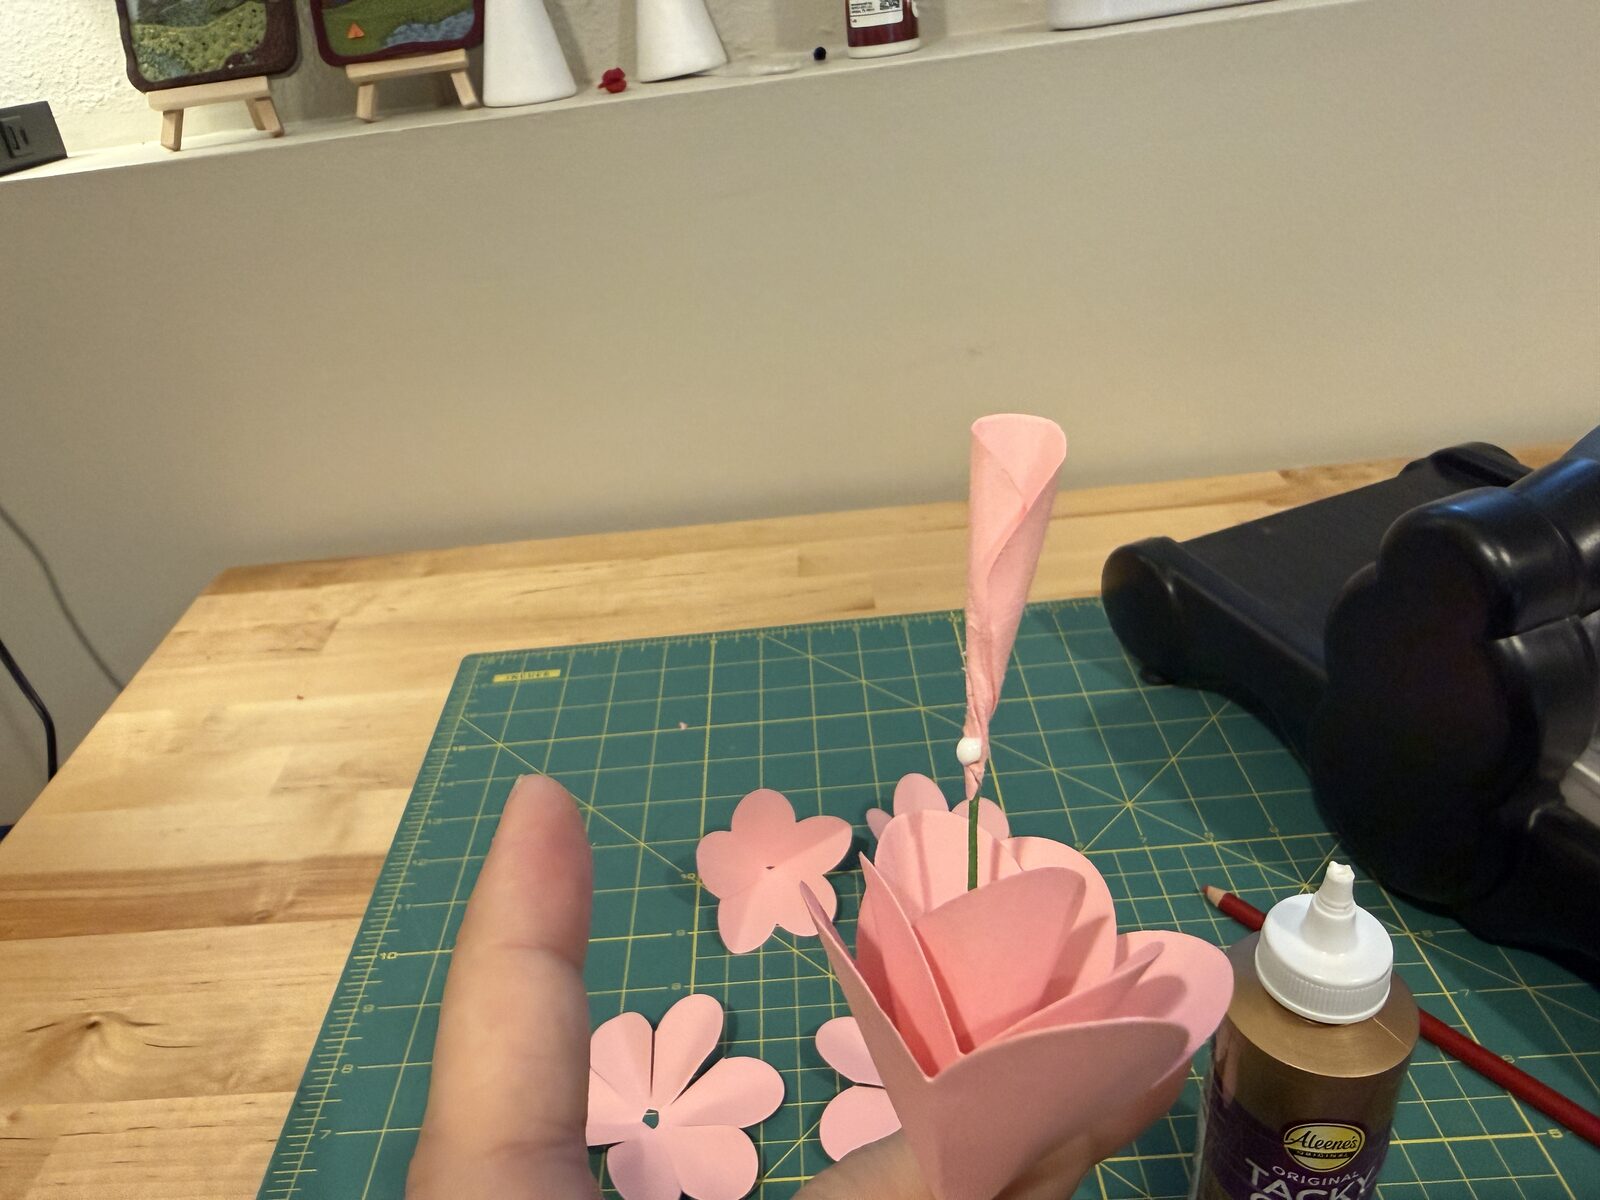
Add glue to the bottom half of the single petal, then wrap it around the hook starting about halfway down the petal. That’s your spiraled center.
8Stack the cones
Slide the two-petal cone down the wire until it snugs up against the center, and secure it with a small dab of glue. Keep going — each cone one petal bigger than the last, which is exactly what your cutting set you up for.
9Be generous on the last layers
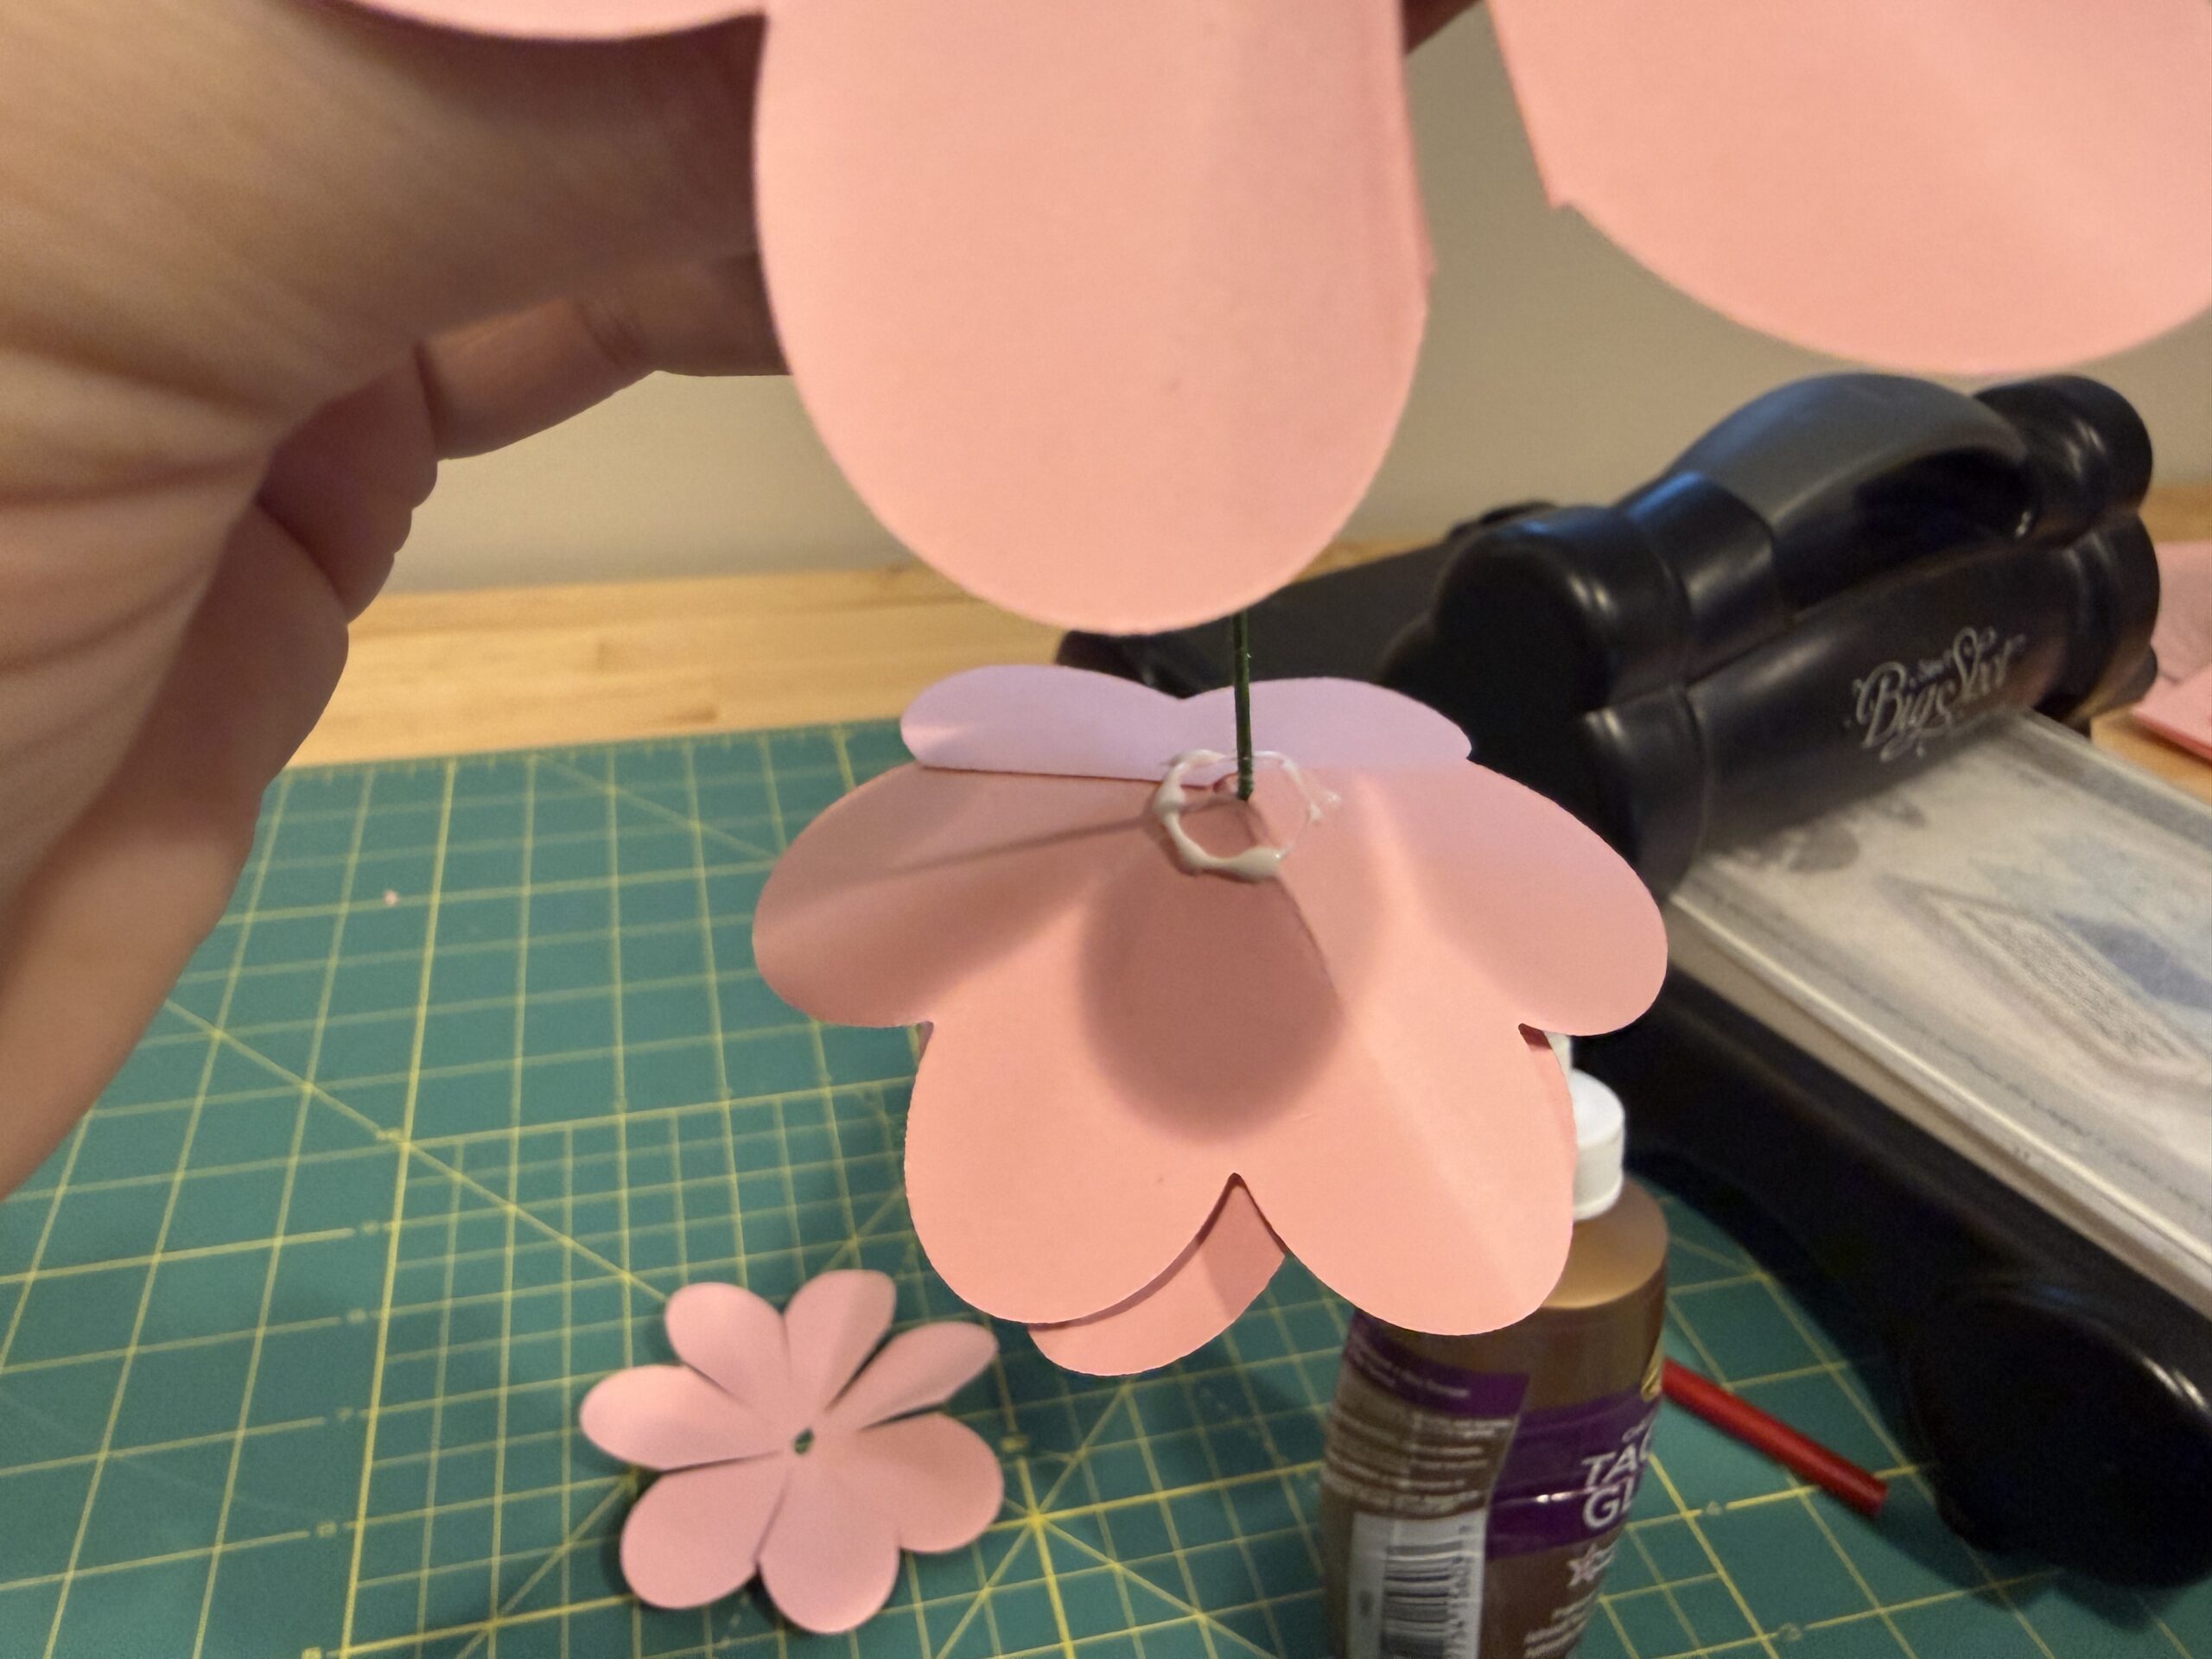
For the outer layers, use a little more glue. It helps those big petals lay naturally.
10Let it dry and show it off
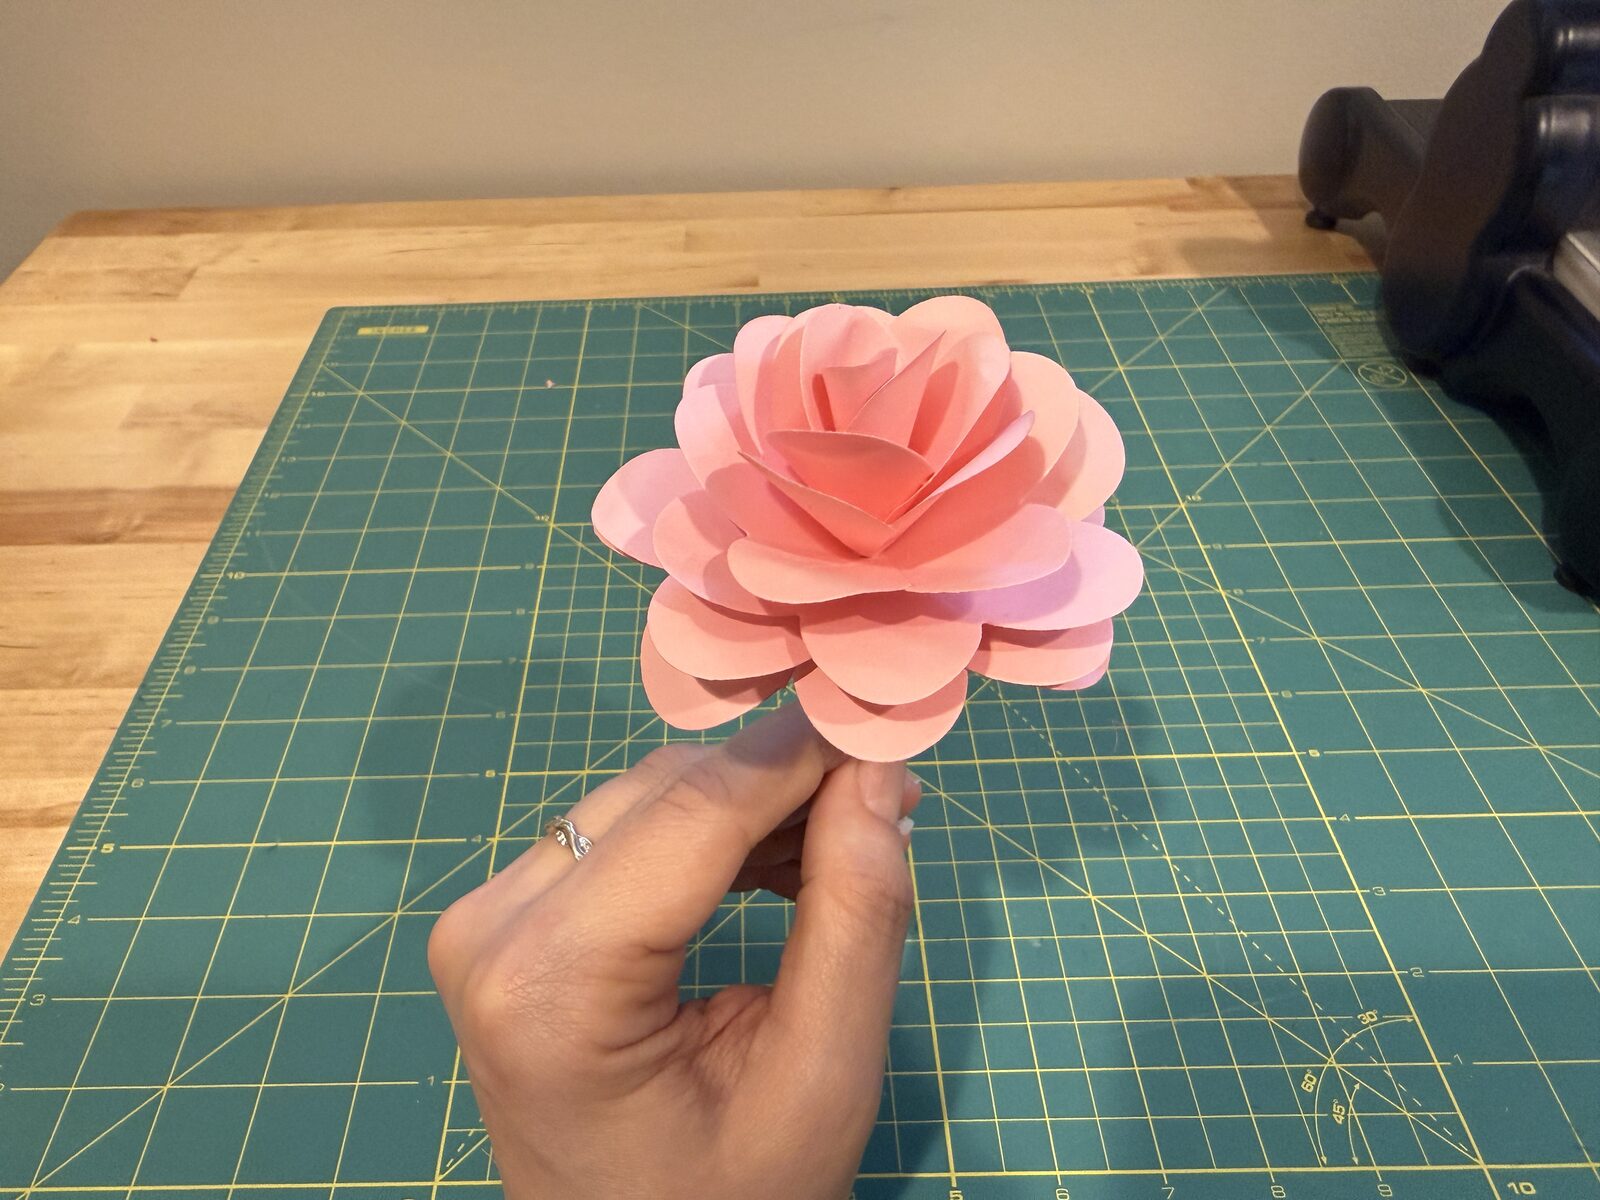
Set the flower aside to dry, then find it somewhere to be admired; the top of a present is a very good spot.
MORE ROSES IN THE LIBRARY
Prefer your roses in felt?
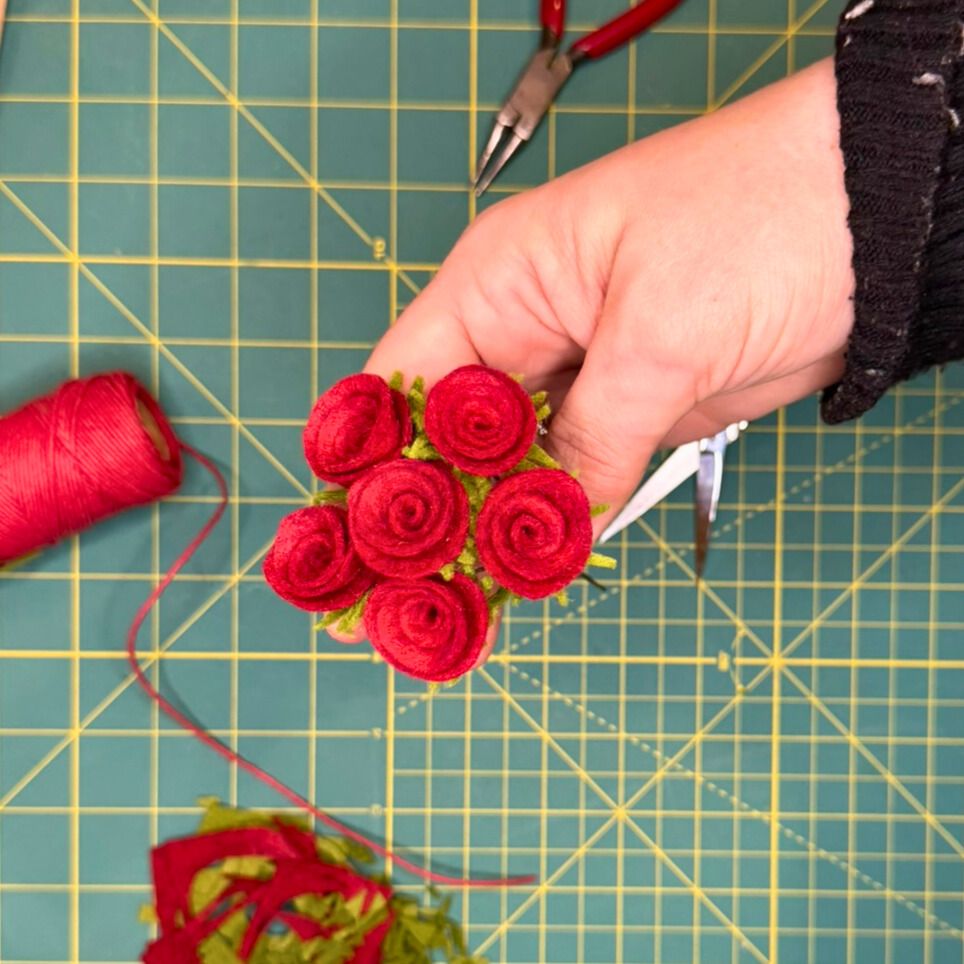
These paper beauties have felt cousins — rolled felt roses, one of the jobs my hot glue gun is actually for. That tutorial lives in the Library too.
Make this rose without a die
The seven-petal daisy from this tutorial is a free printable PDF. Sign up and it lands in your inbox, along with new kits and free tutorials. No spam, ever.
Keep making
More flowers, and the glue that holds them all together: