
MACHINE CRAFT ✦ THE LEARN SERIES
Yes, your machine can cut felt
I have successfully cut felt on two different machines so far: my Cricut Maker and our new Silhouette Cameo Pro MK II. On both, felt wants a rotary blade and a strong-hold mat. And felt is linty when it gets cut, which wreaks havoc on mats, so most of my experimenting has been about wrangling lint to keep the mat sticky.
Tested in studio5 minute readMat-saving method
I cut felt three ways. One won.
Felt directly on the mat: I put the felt straight onto the strong mat, like any other material. It worked great at first, but lint accumulated so quickly that after just a few rounds the mat stopped holding well enough for good cuts. Once the felt is not stuck down firmly, it shifts under the rotary tool and distorts the cut. Ultimately, a disaster.
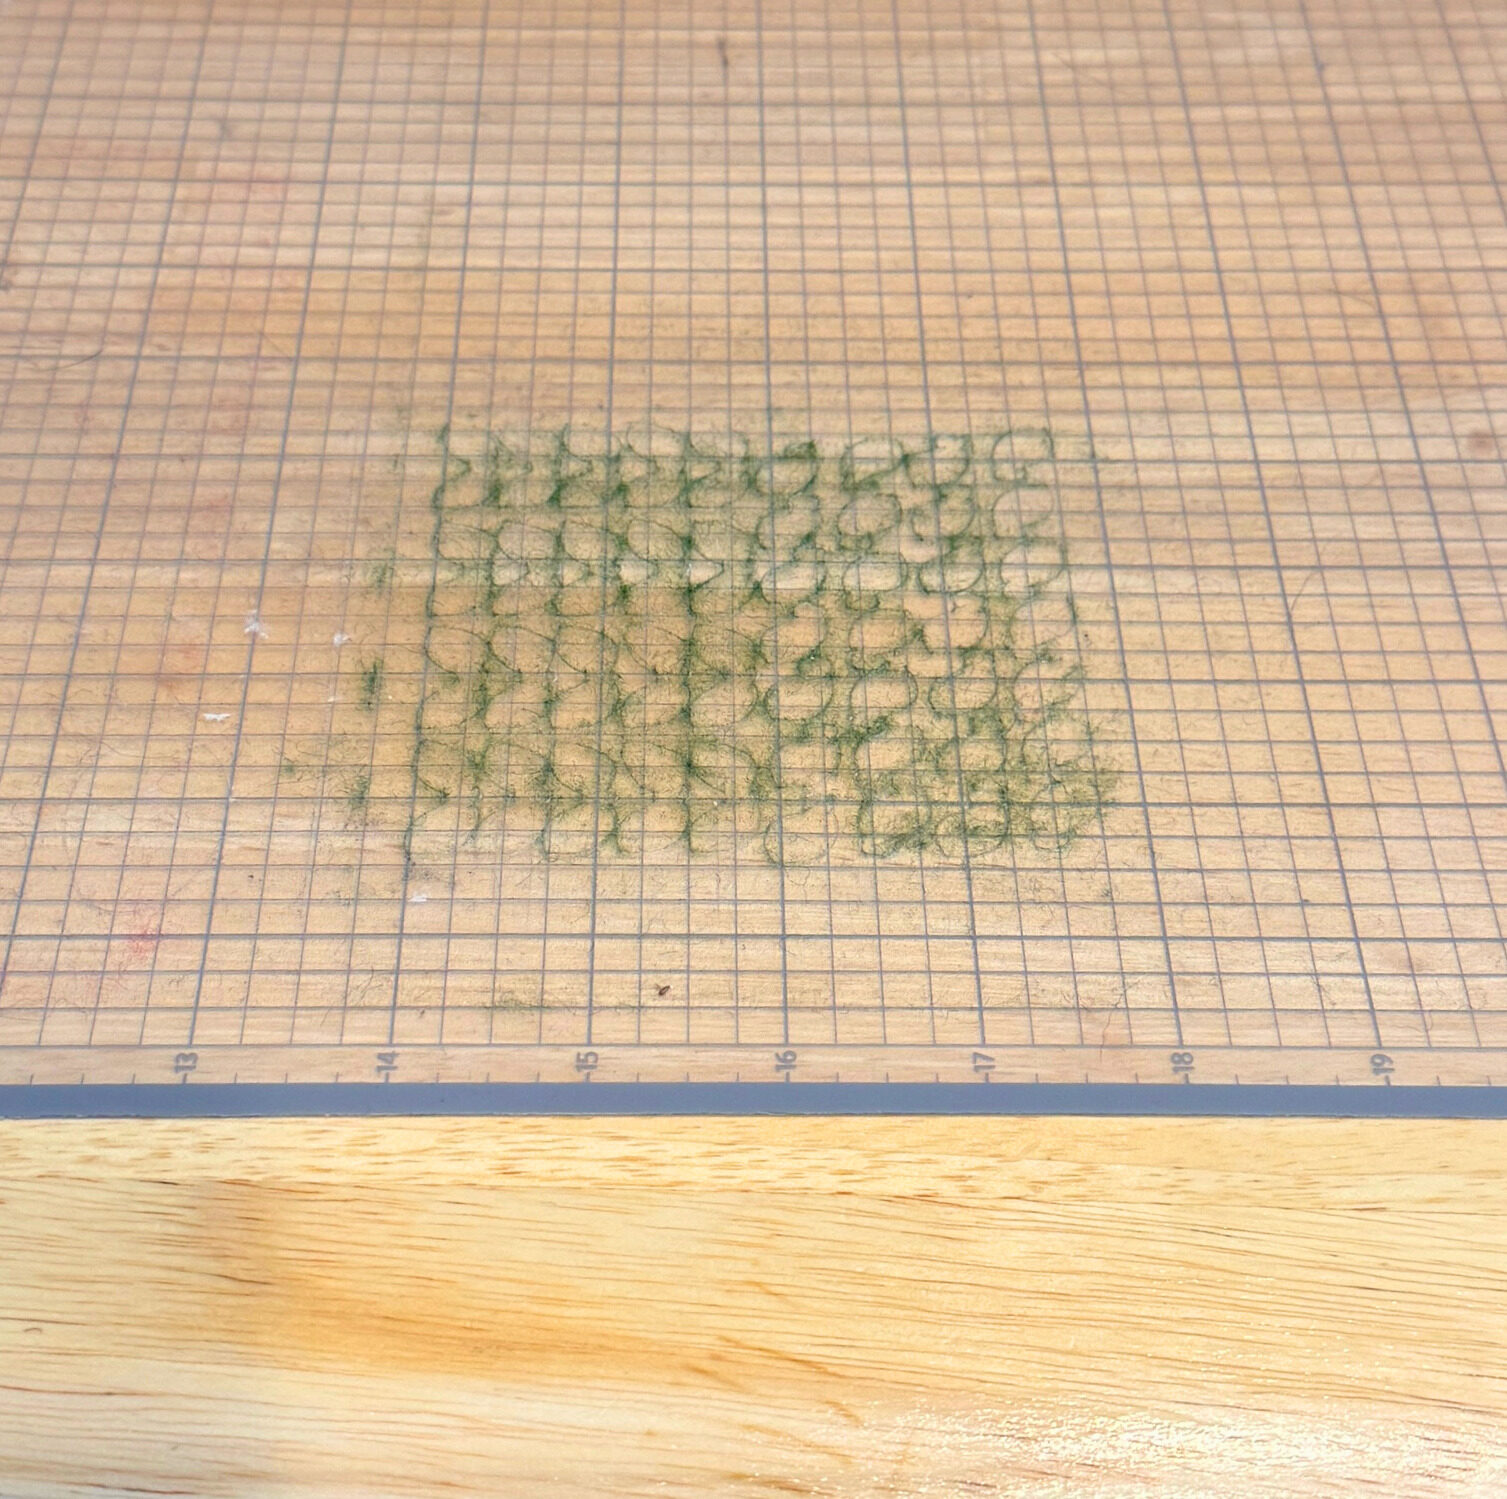
The aftermath of cutting felt directly on the mat.
Transfer film on the mat, sticky side up: a Pinterest tip I was excited to try. Lay the film on the mat, bray it down well, peel up the backing to expose the sticky, then apply the felt like normal. The cuts are great, and the fuzz sticks to the film instead of the mat. The catch: the film is very, very hard to remove afterward. I cut several pieces on one sheet quite successfully, and then found myself sitting in front of Antiques Roadshow, peeling shredded film off my mat tiny piece by tiny piece. Replacing the film after every cut works better, and probably does the most for your mat’s lifespan, but it is slow and fiddly, so I let the idea go.
Freezer paper ironed to the back: the winner, courtesy of one of my aunts. Clean cuts, far less lint, and the paper peels off without leaving residue. Here is exactly how to do it.
The freezer-paper method
1Iron it on
With a dry iron, press freezer paper onto the back of your felt, shiny side facing the felt. The heat gently melts the plastic coating, which tacks the paper on.
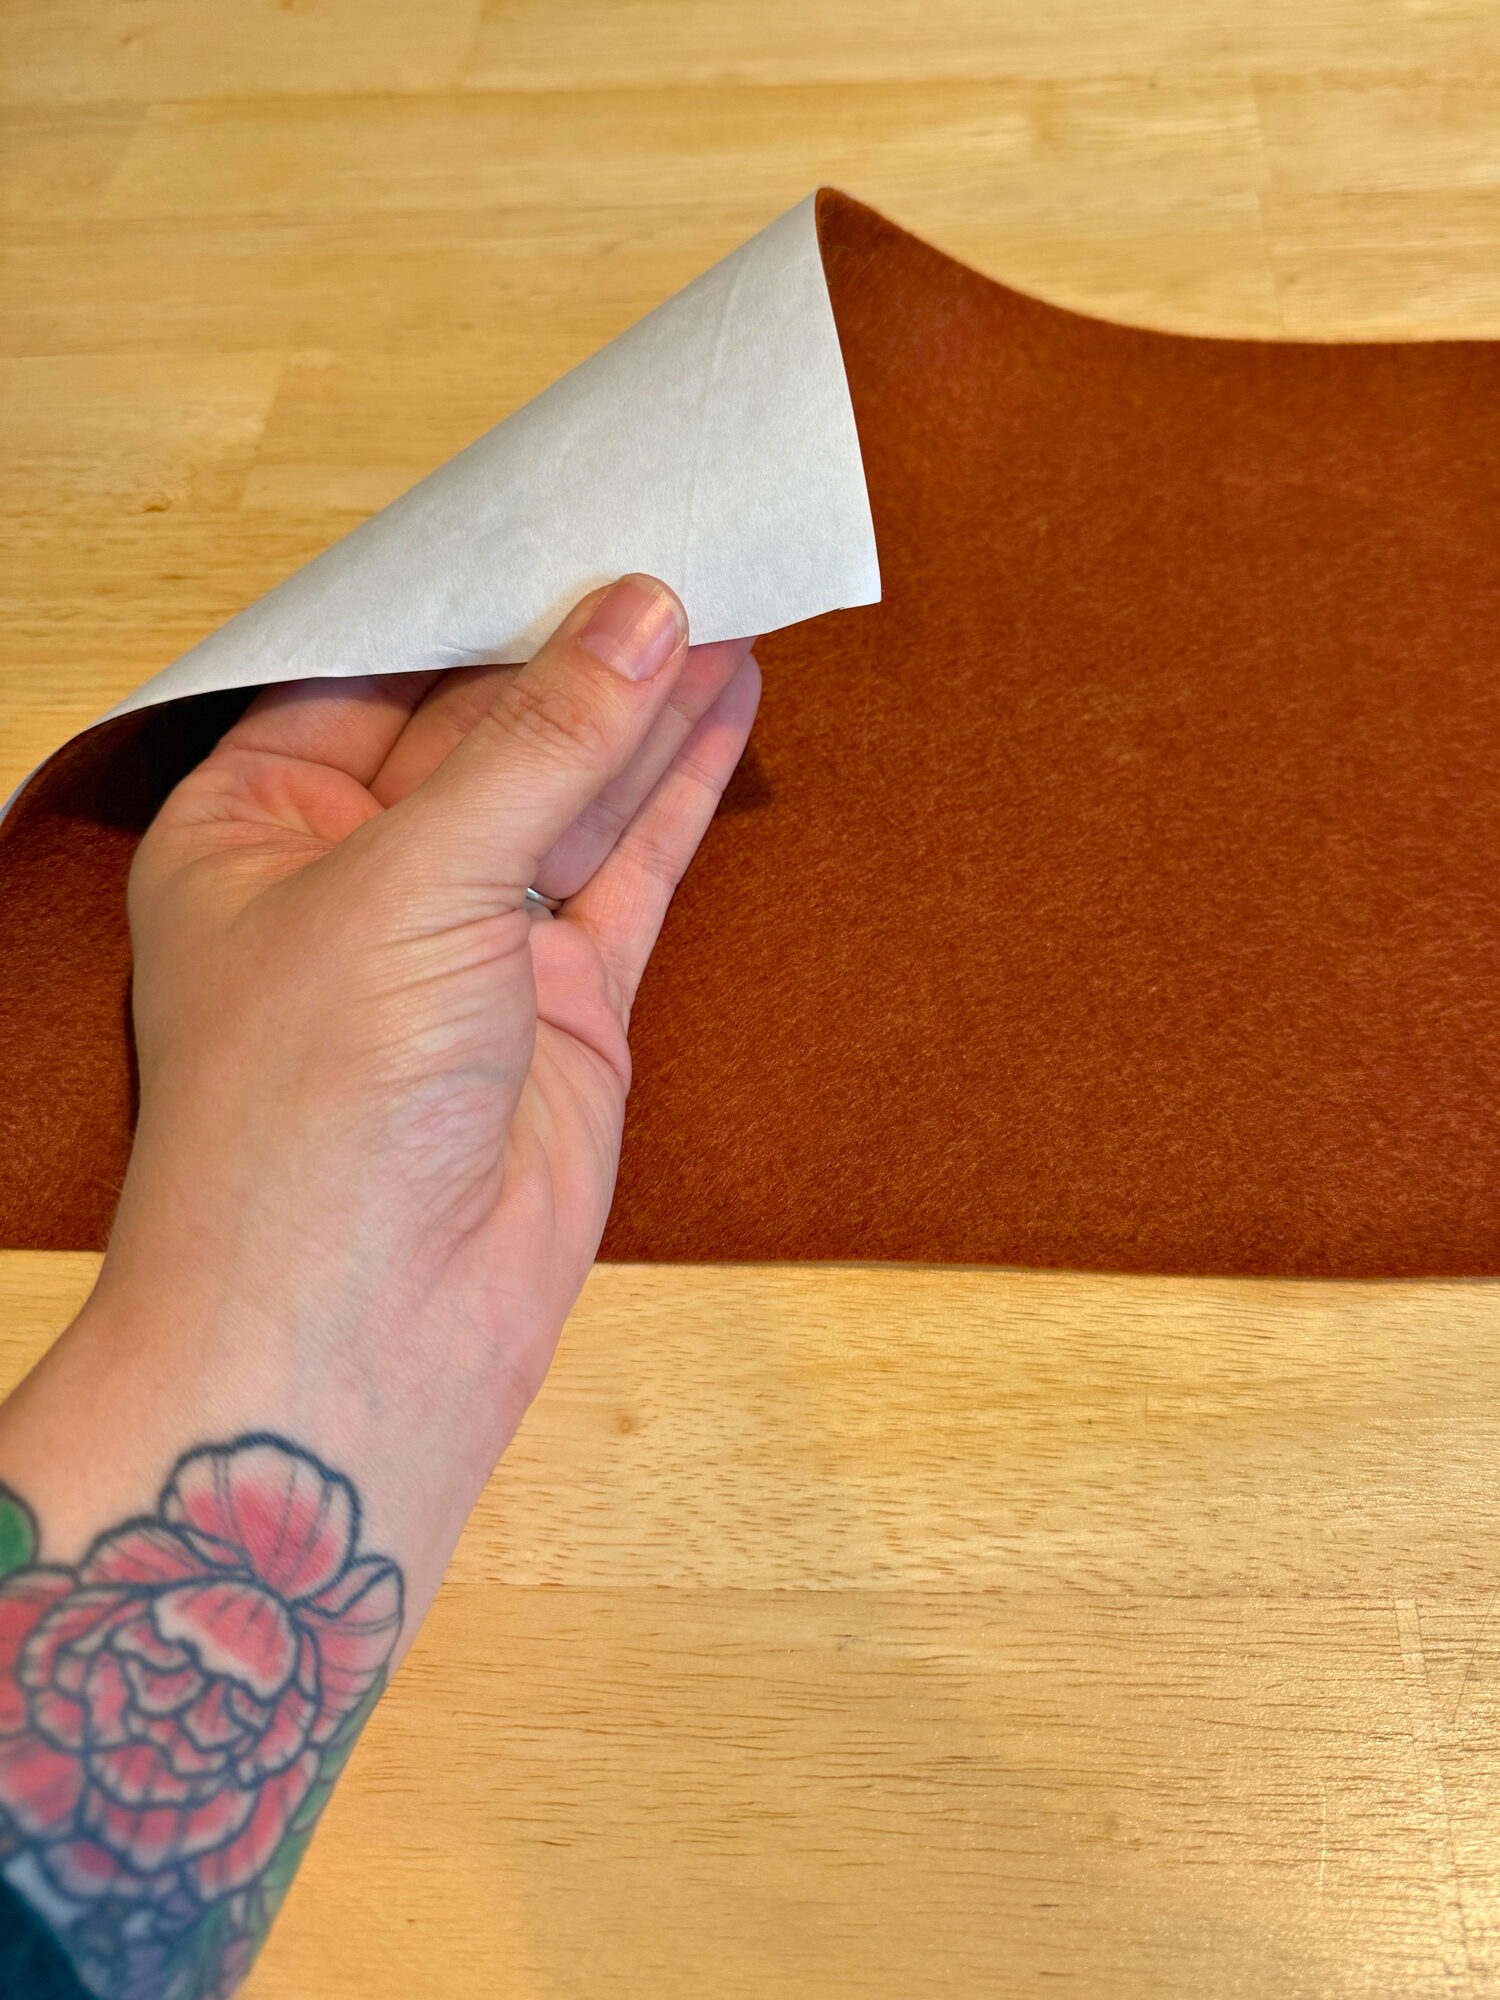
2Lay it flat, gently
The bond between paper and felt is a little weak, so do not crumple the felt, and lay it on the mat without big wrinkles. Braying or aggressively smoothing will lift the felt right off the paper.
3Cut with the rotary blade
Use the rotary blade and a strong-hold mat. This is what worked on both my Cricut Maker and my Silhouette Cameo Pro MK II.
4Unload and peel
Unload the mat like normal. The felt usually peels up separately from the paper, with no residue left behind. A little lint still transfers to the mat, but far less than cutting felt directly on it.
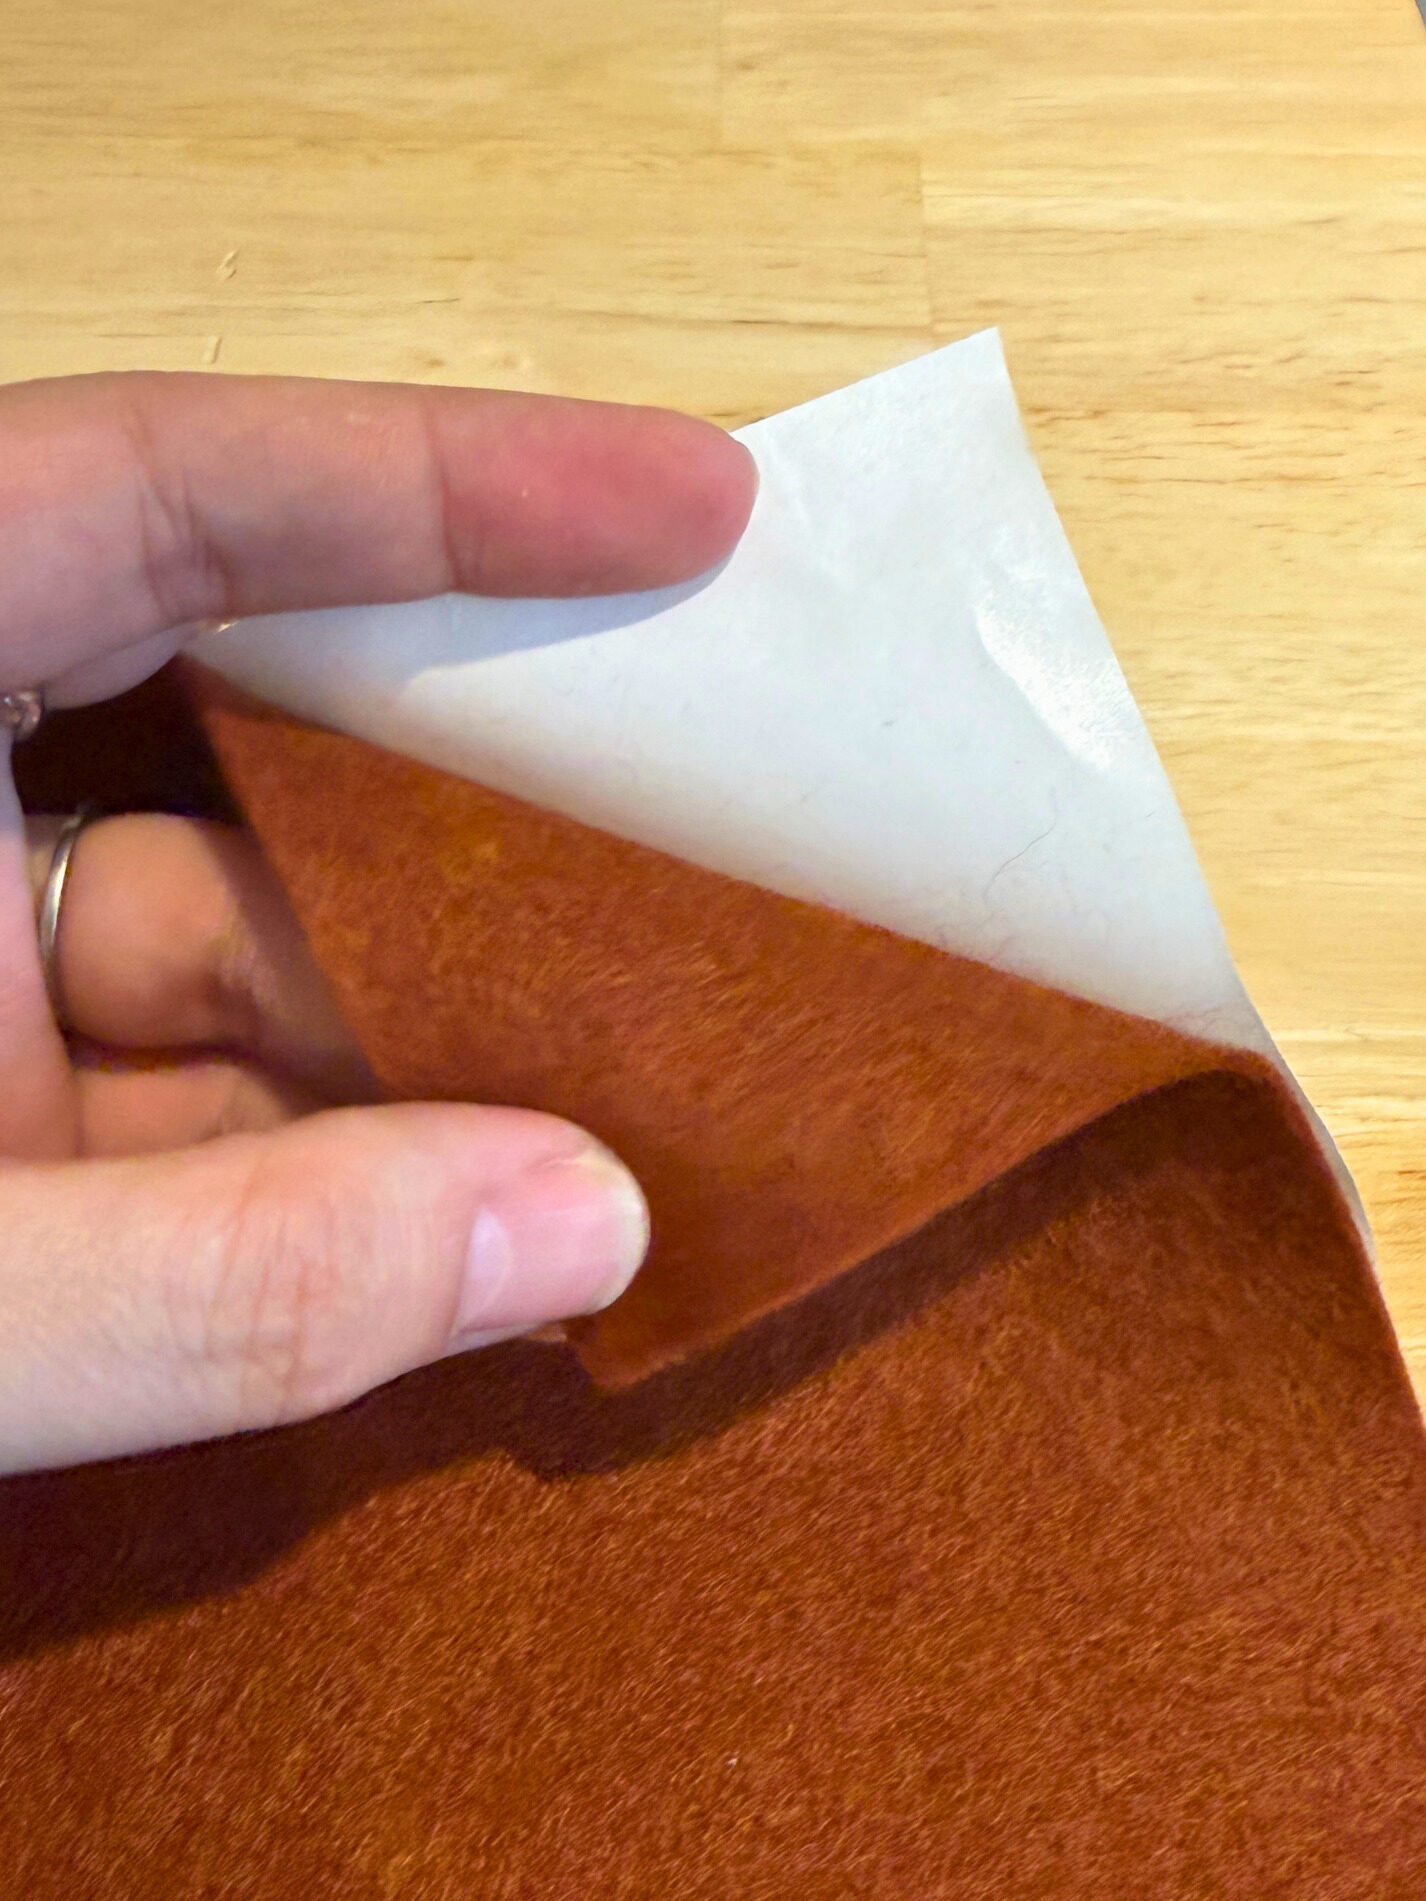
The paper peels back off without leaving residue.
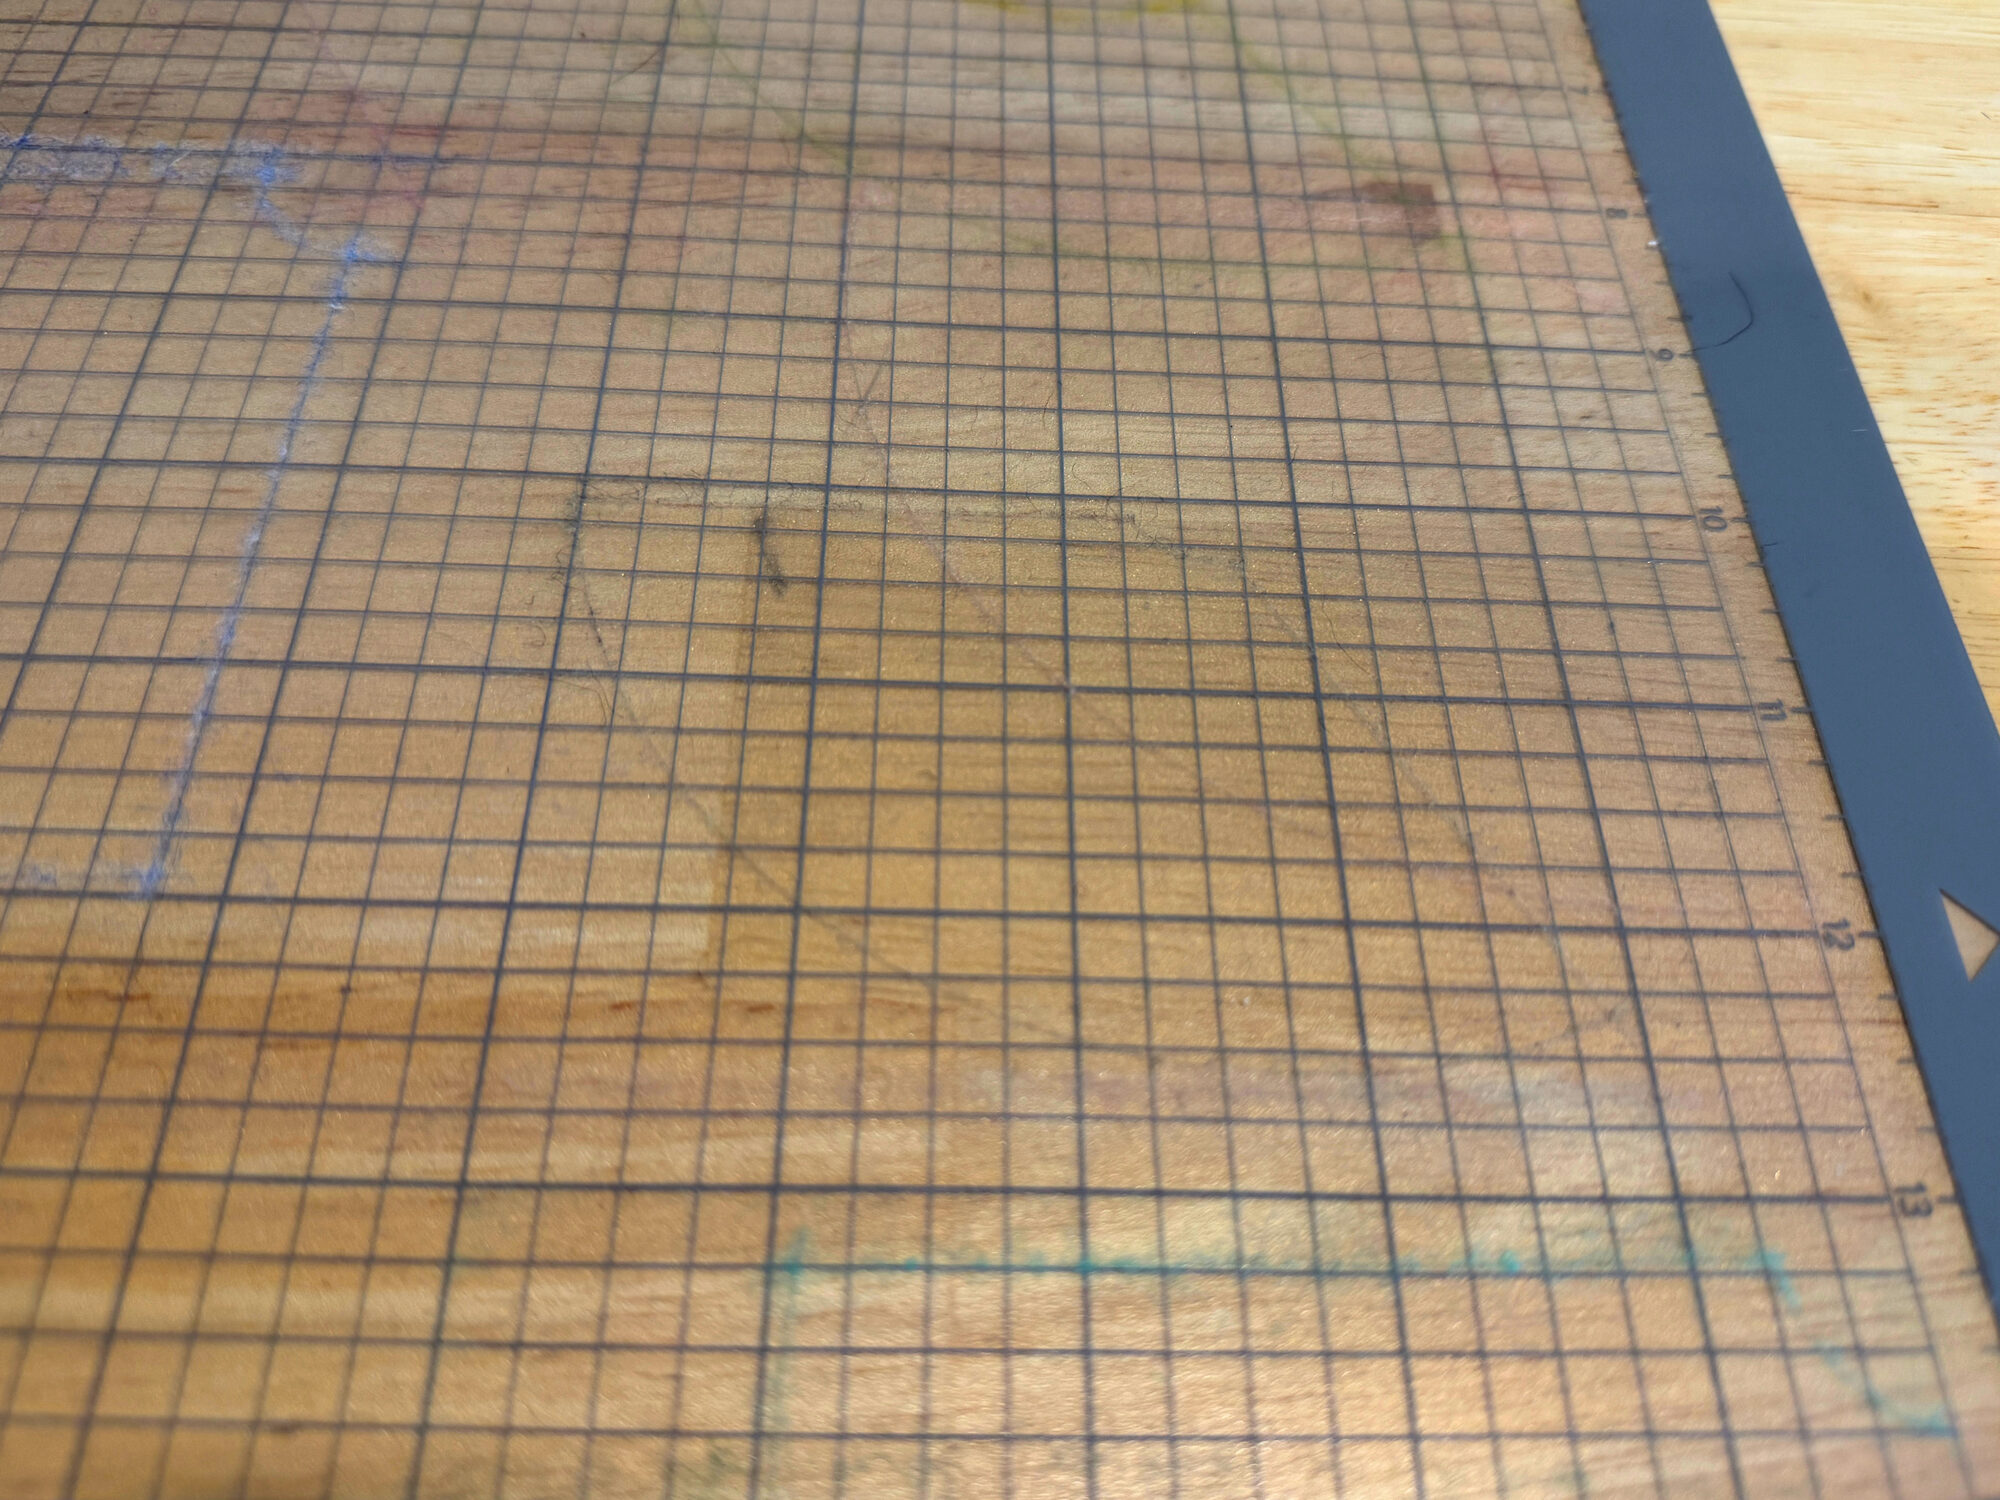
The mat after a freezer-paper cut: a little lint, nothing like before.
The tape trick
In an ideal world, our mats would always be fresh and perfectly sticky. In reality, there is always a stretch where the mat is almost ready to be replaced, but not quite. That is when cuts get messy, because the felt shifts under the rotary tool. The fix: tape the outer edge of the felt to the mat with masking tape or blue painter’s tape. Just make sure the tape is not covering any cut lines, to keep adhesive off your blade.

RATHER SKIP THE CUTTING?
The Mushroom Kit comes fully pre-cut
Fair enough. Cutting is the fussiest part of felt work, and it is the part we love doing for you. Every piece is ready to go the moment you open the box.
Want the supply notes first?
What I’m testing, what won, and what to skip, plus new kits and free tutorials. No spam, ever.
Keep learning
More studio-tested supply smarts from the Learn series: